How to Automate a Welcome Email in 5 Simple Steps
Table of Contents Jump to:
Jump to:
Table of contents
A welcome email is quite possibly the most important thing you’ll ever send your customers.
In fact, 74% of people expect to get one shortly after hitting the subscribe button on your beautiful form. This means your customers are literally checking their inbox, waiting to see your first email.
What’s more? Subscribers who receive a welcome email show 33% more engagement with a brand over time compared to those who don’t.
Here’s how to automate a welcome email in 5 simple steps:
- Set up your opt-in form and segments
- Design your email
- Create a welcome sequence workflow
- Add a trigger
- Add steps and publish
Get unlimited email sends & subscribers with Flodesk
We’ll never increase pricing because your email list is growing
Why should you automate your welcome emails?
As you can see, welcome emails present a golden opportunity to engage with your customers. By automating them, you can do the following:
- Make sure customers receive your welcome email immediately after subscribing (which is when they’re looking for it).
- Gain trust and increase the credibility of your brand by responding to customers in real-time.
- Drive revenue during this period of high engagement by sending a discount code in your welcome email, like free shipping or 15% off.
- Increase touchpoints by inviting subscribers to follow you on social media.
How to automate a welcome email in Flodesk
Use an intuitive email automation tool to quickly set up your welcome sequence. In this section, we’re going to walk you through the process of creating an automated welcome email in Flodesk step by step. You’ve got this!
Step 1: Set up your opt-in form and segments

An opt-in form is how you collect email subscribers from your website, blog, landing page, Instagram—or wherever your ideal customers are hanging out. Many times, the opt-in form offers a freebie or some other type of incentive in exchange for an email address.
When you collect email addresses through a signup form, you can automatically sort the subscribers into different lists called segments. The goal of segmenting your subscribers is to allow you to hyper-personalize your communication so it’s always relevant and adds value.
Let’s say you have three different opt-in forms, for example. One offers a free marketing guide, another offers a free webinar, and the third is a basic newsletter sign up. You might want to follow up with these subscribers in different ways. Maybe you have a product that goes with the marketing guide or a coaching service that you want to promote after the webinar.
If your subscribers just went into one big list, you wouldn’t be able to do this because you wouldn’t know who subscribed to what. (Or you’d have to keep track of it manually). But when they’re automatically segmented, you can send personalized, automatic emails to the right group of subscribers at the right time.
So let’s set up your opt-in form and segments! Here’s what to do:
- Go to Forms on the top menu in your Flodesk account.
- Click on + New form to start a new form.
- Select between a Popup form (appears over your website content when visitors land on your website), an Inline form (appears inside a blog post, page, or article) or a Full Page form (perfect if you don’t have a website).
- Hover over the form template you want to use and click on Customize.
- Select an existing segment or create a new segment for your form. Remember, this part is super important for automating welcome emails because your new subscribers will be automatically added to this segment when they opt in.
- Click anywhere on your form to start making it your own! (If this is your first go at this, check out the article “How Do I Create An Opt-in Form?” It’ll walk you through everything from adding photos to creating custom fields.)
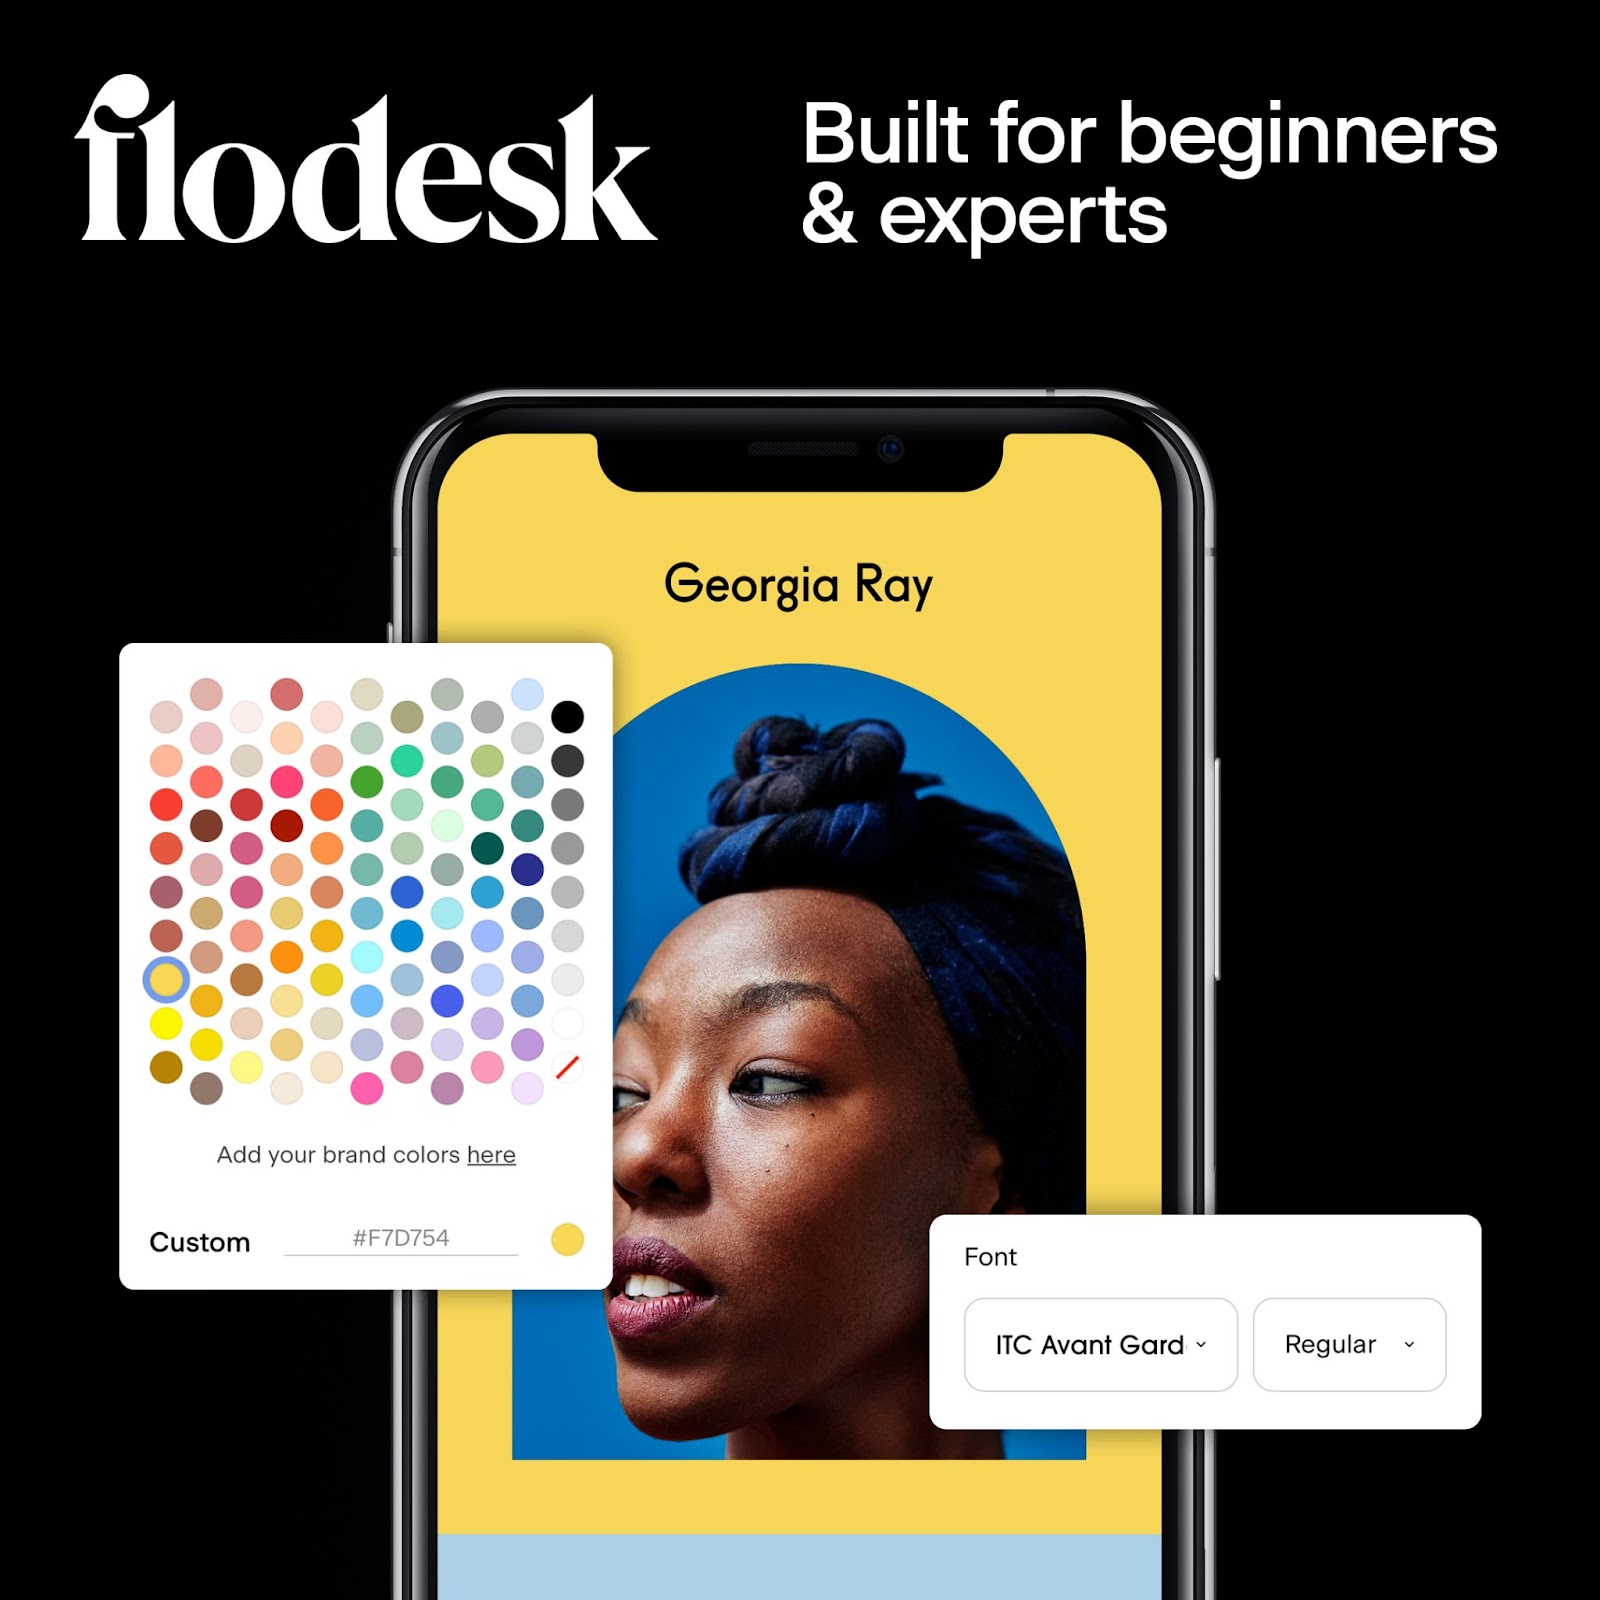
Step 2: Design your email
The next step is to design the automated welcome email itself. If you’ve already done this and just want to automate it, you’re ahead of the game! Go ahead and skip to the next section. Otherwise, here’s what to do:
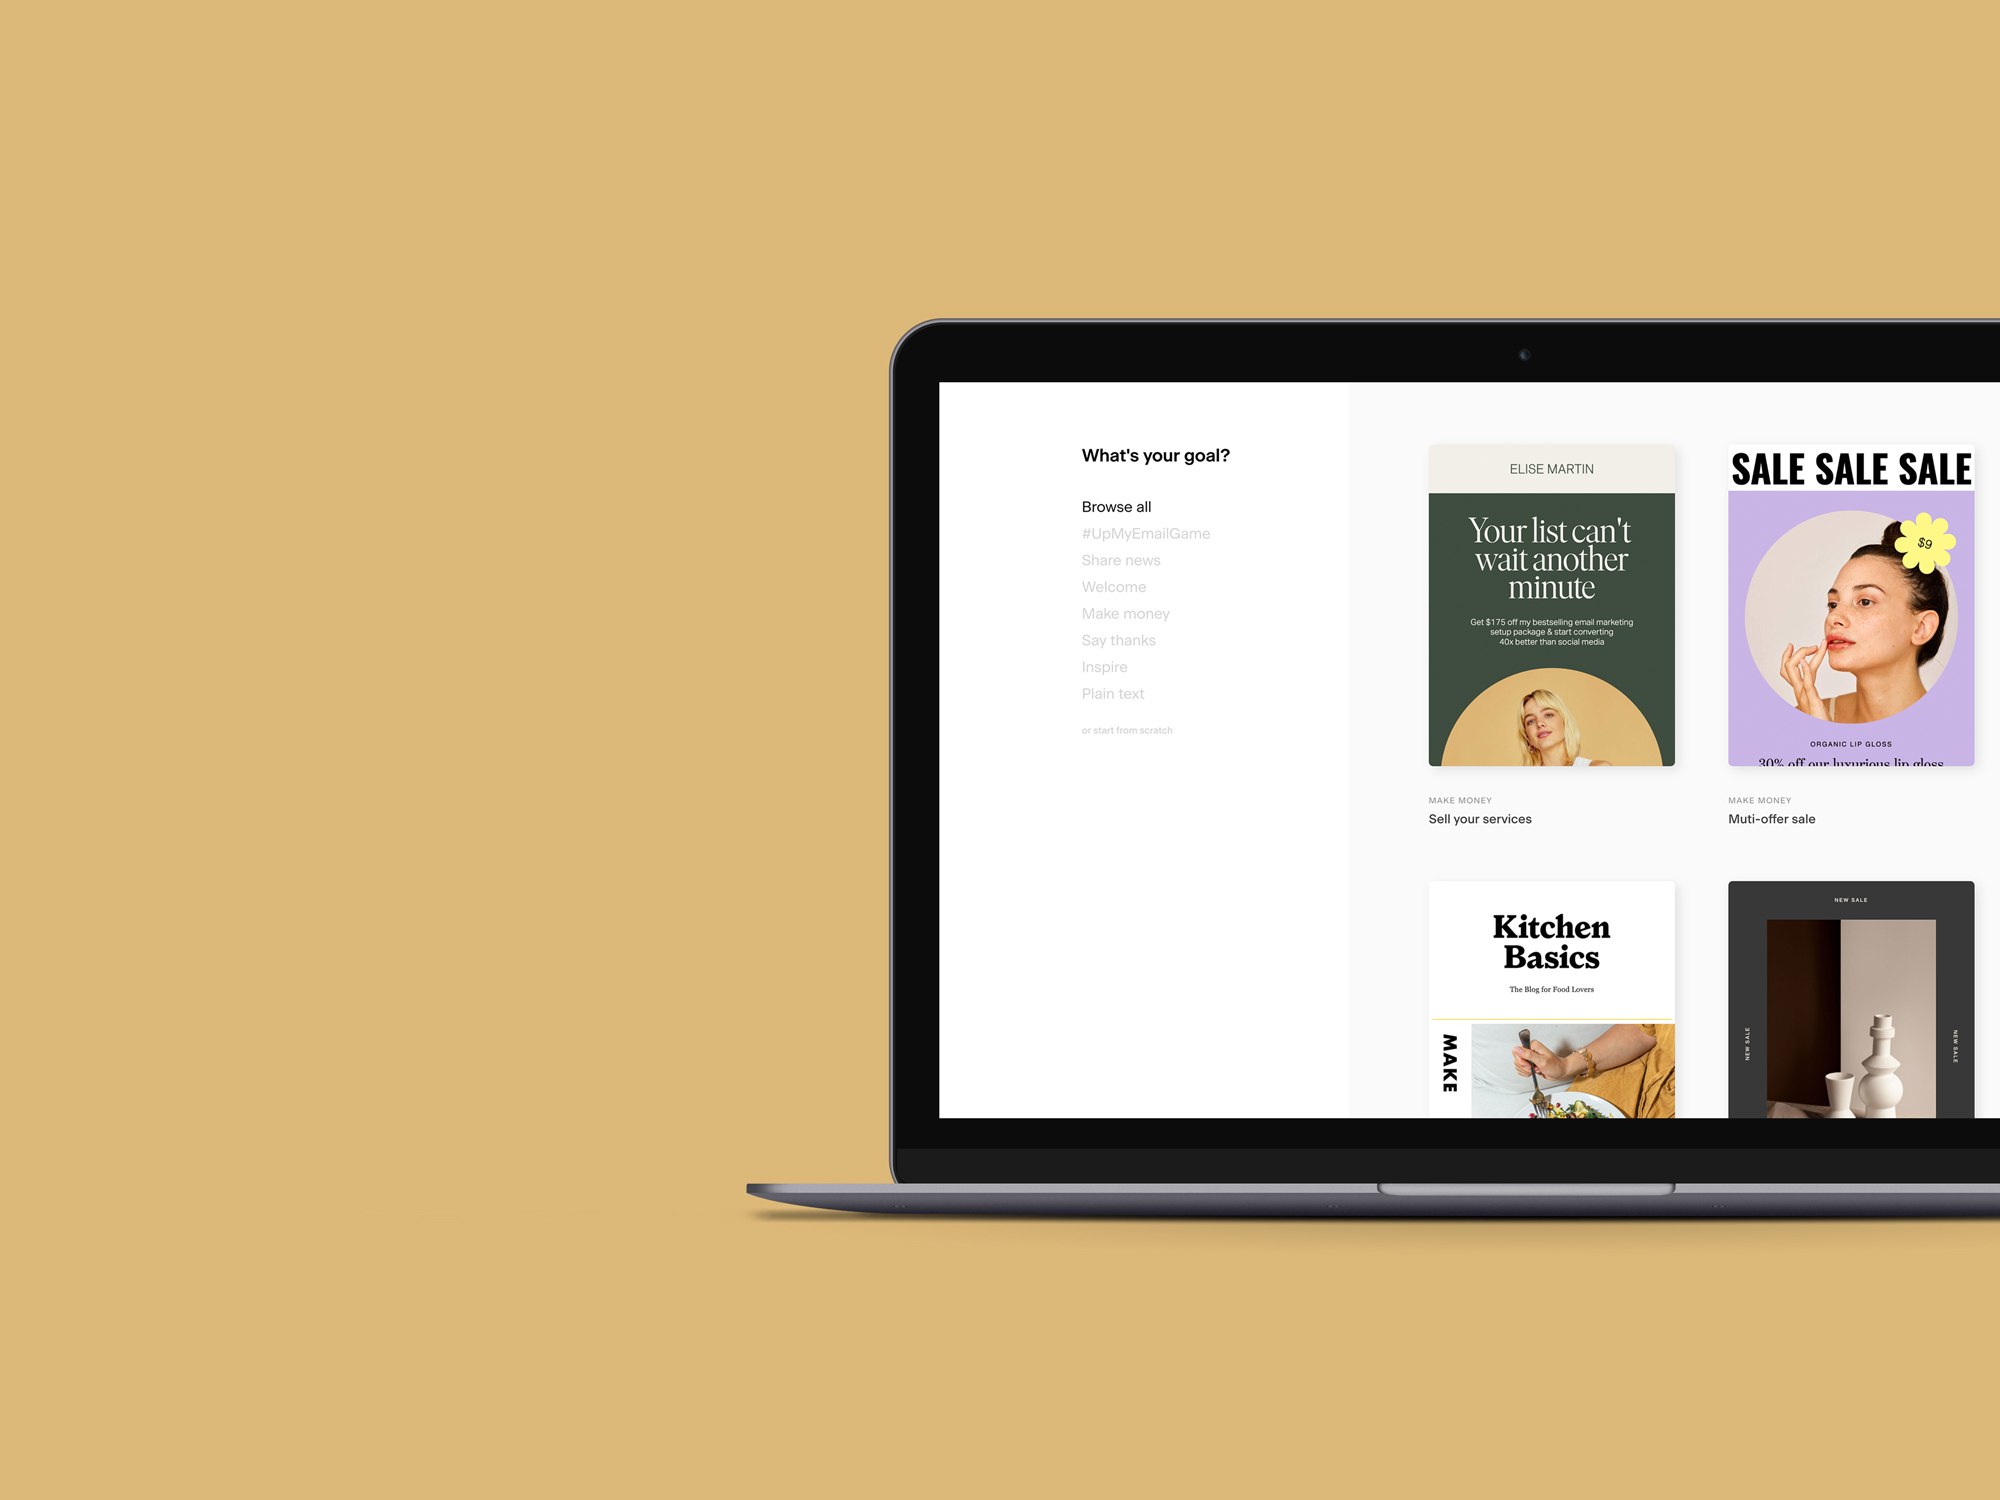
- Go to Emails on the top menu and click on +New email. (Hint: If you’re looking for an email you’ve already designed and saved as a template, you’ll find it under “My favorites”.)
- Select the Welcome category on the left side to narrow it down. Choose a welcome email template you love and click on View details to learn more about when to use this template. (Make sure to preview on mobile and desktop, it’s one of our favorite features!)
- Select Customize to start making it your own! Click on any part of the email to start editing—the tabs on the right sidebar let you navigate through the settings bar. Use the icons to the right of each block to easily access block settings, duplicate, or delete a block.
- If you’re delivering a PDF or other freebie with your welcome email, click within an element on the template. Then click Link on the right-hand side to select or add the file you want.
- When you’re finished designing, click Next. Choose your sender profile, subject line, and preview text. When prompted with “When should we send this email?”, select “Later.”
Get unlimited email sends & subscribers with Flodesk
We’ll never increase pricing because your email list is growing
Step 3: Create a welcome sequence workflow
This is where you start to put it all together! It’s the magic that automatically sends your welcome email to your new subscriber. Here’s what to do:
- Go to Workflows on the top menu in your Flodesk account.
- Click on + New workflow to start a new workflow.
- Select a template to start working with (there’s a welcome sequence template!) or you can start from scratch.
- Name your workflow for easy access in the future. For this example, let’s say you name it “Welcome Sequence.”
Step 4: Add a trigger
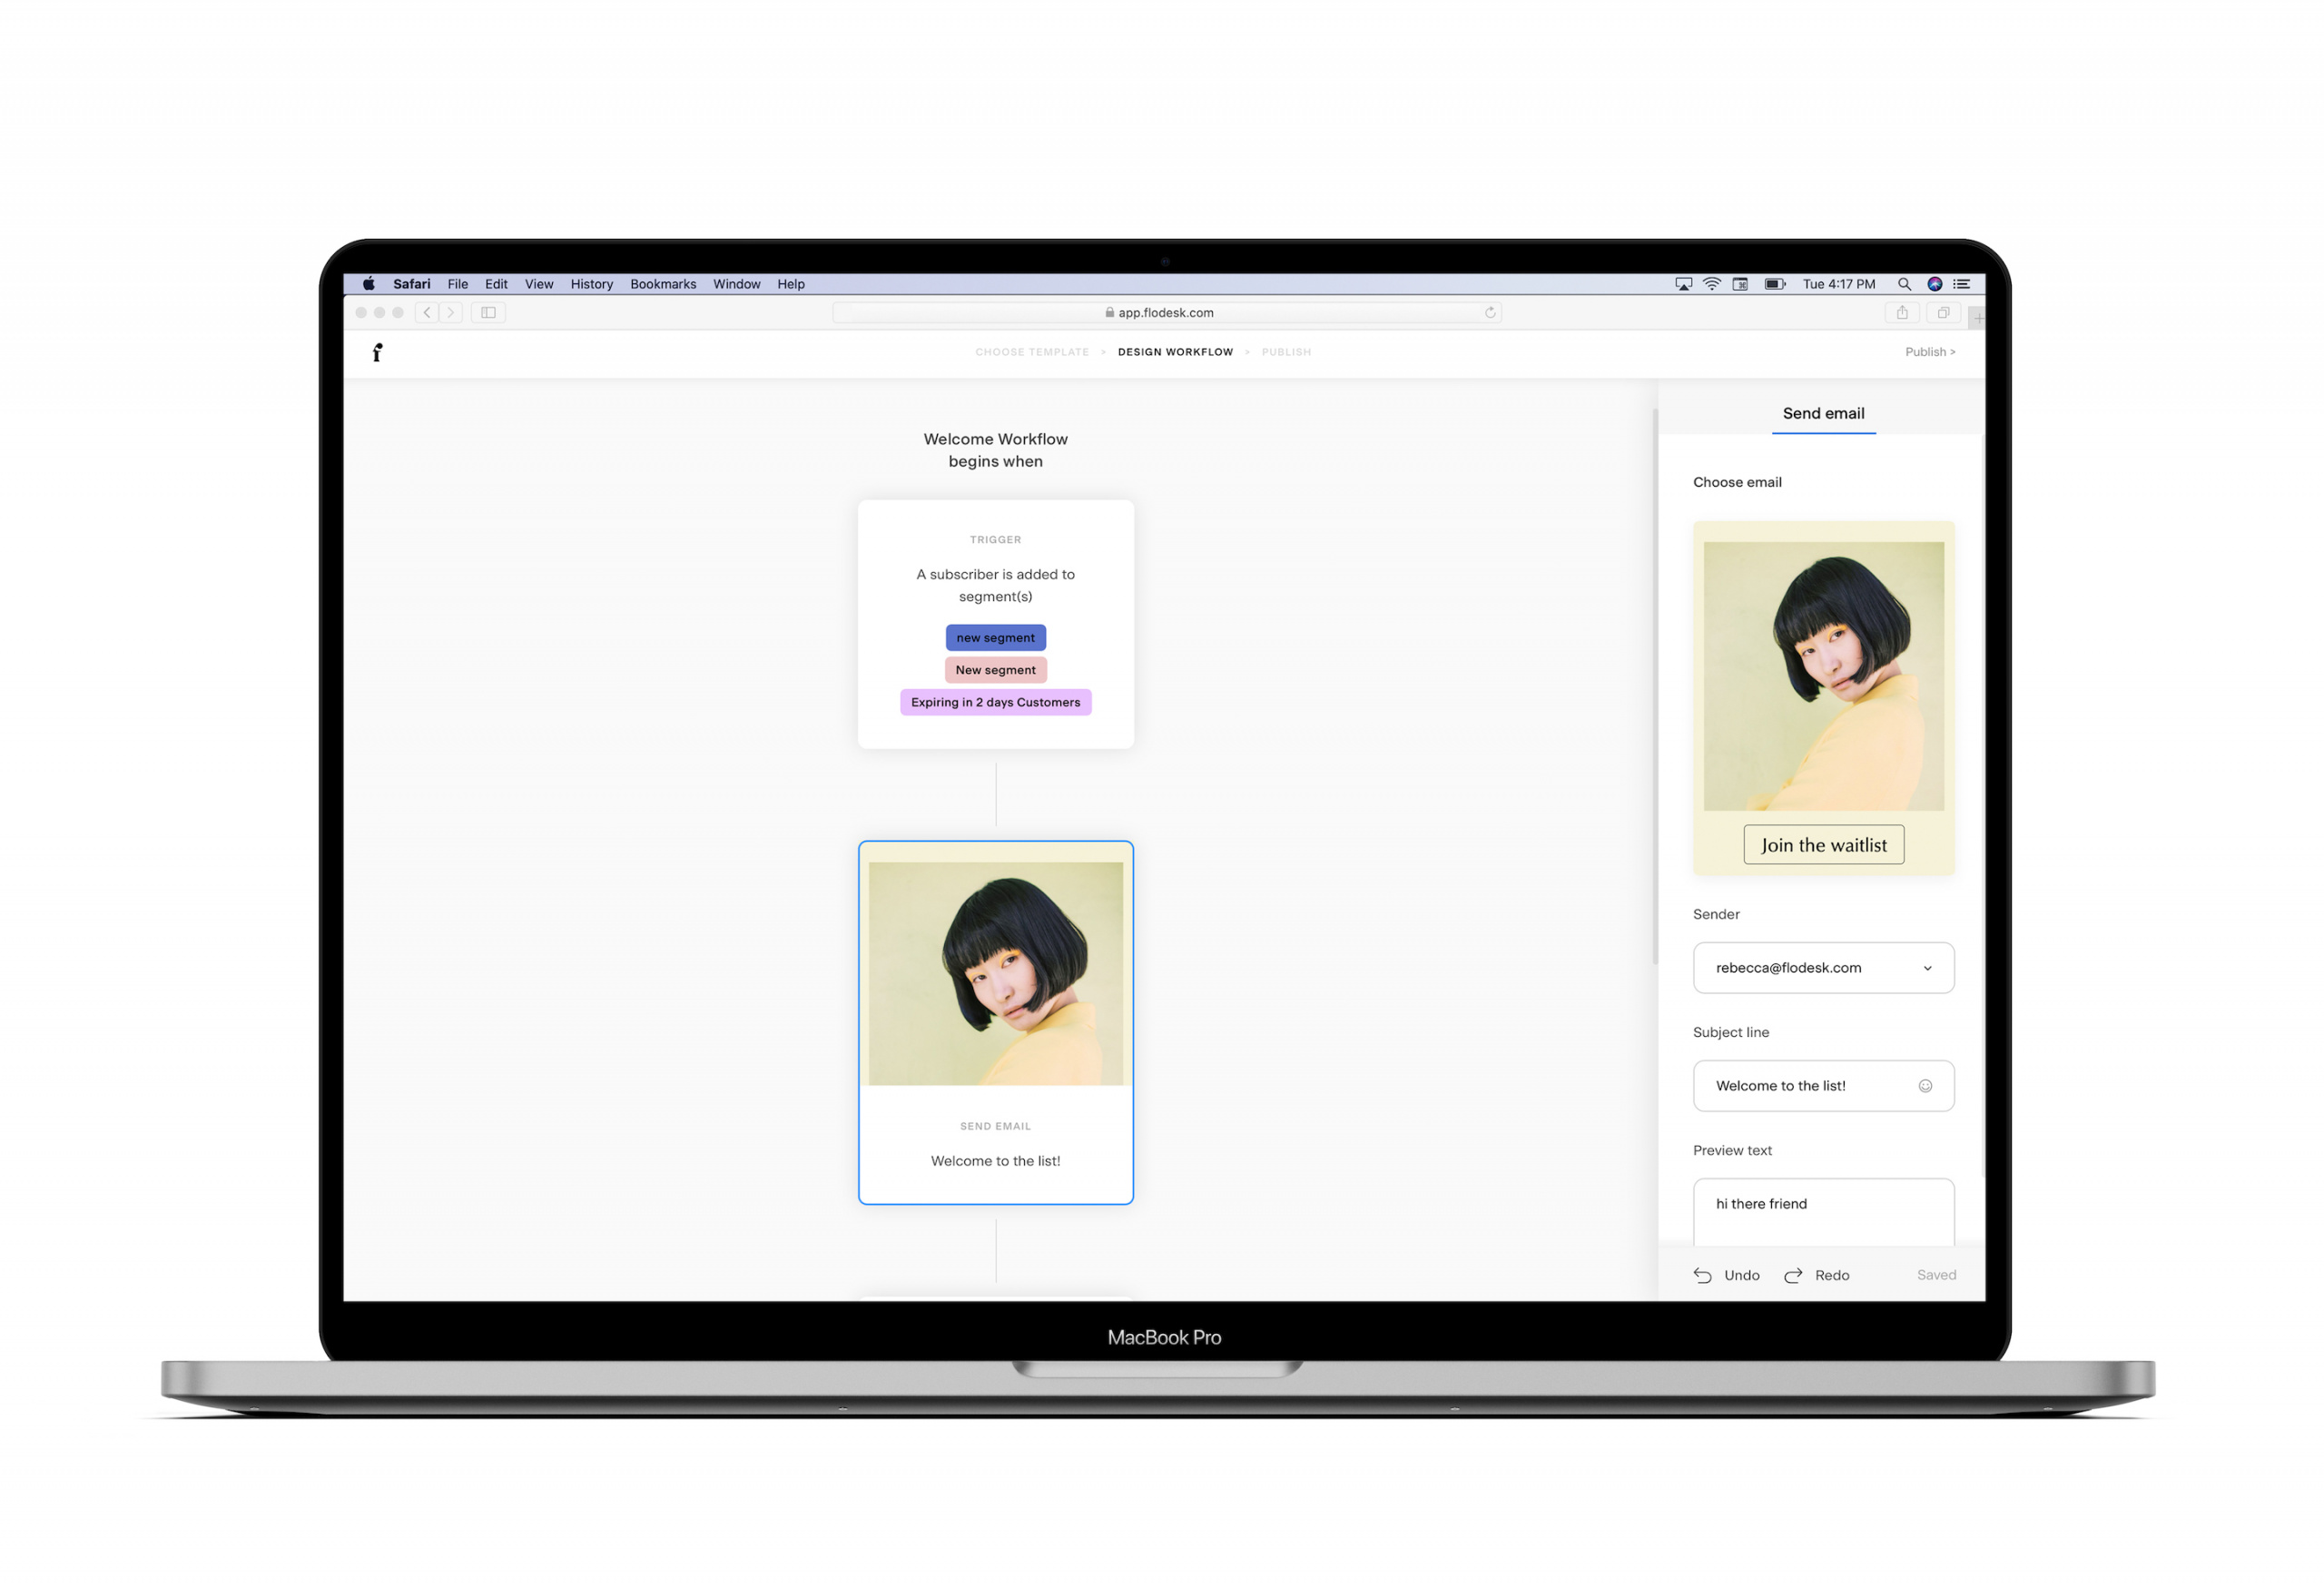
A trigger is the thing that sets it all in motion—the first step in your automated email sequence. With your first emails, the trigger is usually when someone subscribes to your list.
This is where those segments come into play that you set up earlier. When someone subscribes through your form, they’re automatically added to a segment (let’s call it ‘Welcome Segment’ for this example).
Now, we’ll set up your workflow to begin when this happens. So your trigger will be when new subscribers are added to the Welcome Segment.
- Click +Add trigger in the box below, “Welcome Sequence begins when.”
- Select “A subscriber is added to segment” from the first drop-down menu that says “Begin the workflow when.”
- Select “Welcome Segment” from the second drop-down menu that says “Choose segment(s).”
Note: You have to add at least one segment as the trigger event but you can also select more than one. If you select more than one segment, your workflow will be triggered when someone is in any of the segments you’ve selected.
Let’s go back to those three forms from the beginning as an example—a free marketing guide, a free webinar and a newsletter signup. If you want all of those subscribers to receive the same automated welcome email, you could include all three segments as trigger events.
If a subscriber is in multiple segments (because they signed up for multiple things), it will only trigger once for them. They won’t get your workflow emails duplicated. If you want them to receive different emails (which is likely in this case since you’re sending different freebies), only select the one segment you want to be tied to this particular email sequence.
Step 5: Add steps and publish
You’re almost done! And this last step is the easiest. In fact, if you’re creating a simple workflow to send a welcome email when subscribers join your list, all you need to do is hit publish.
This will set your workflow in motion. And just like magic, new subscribers will automatically receive your welcome email!
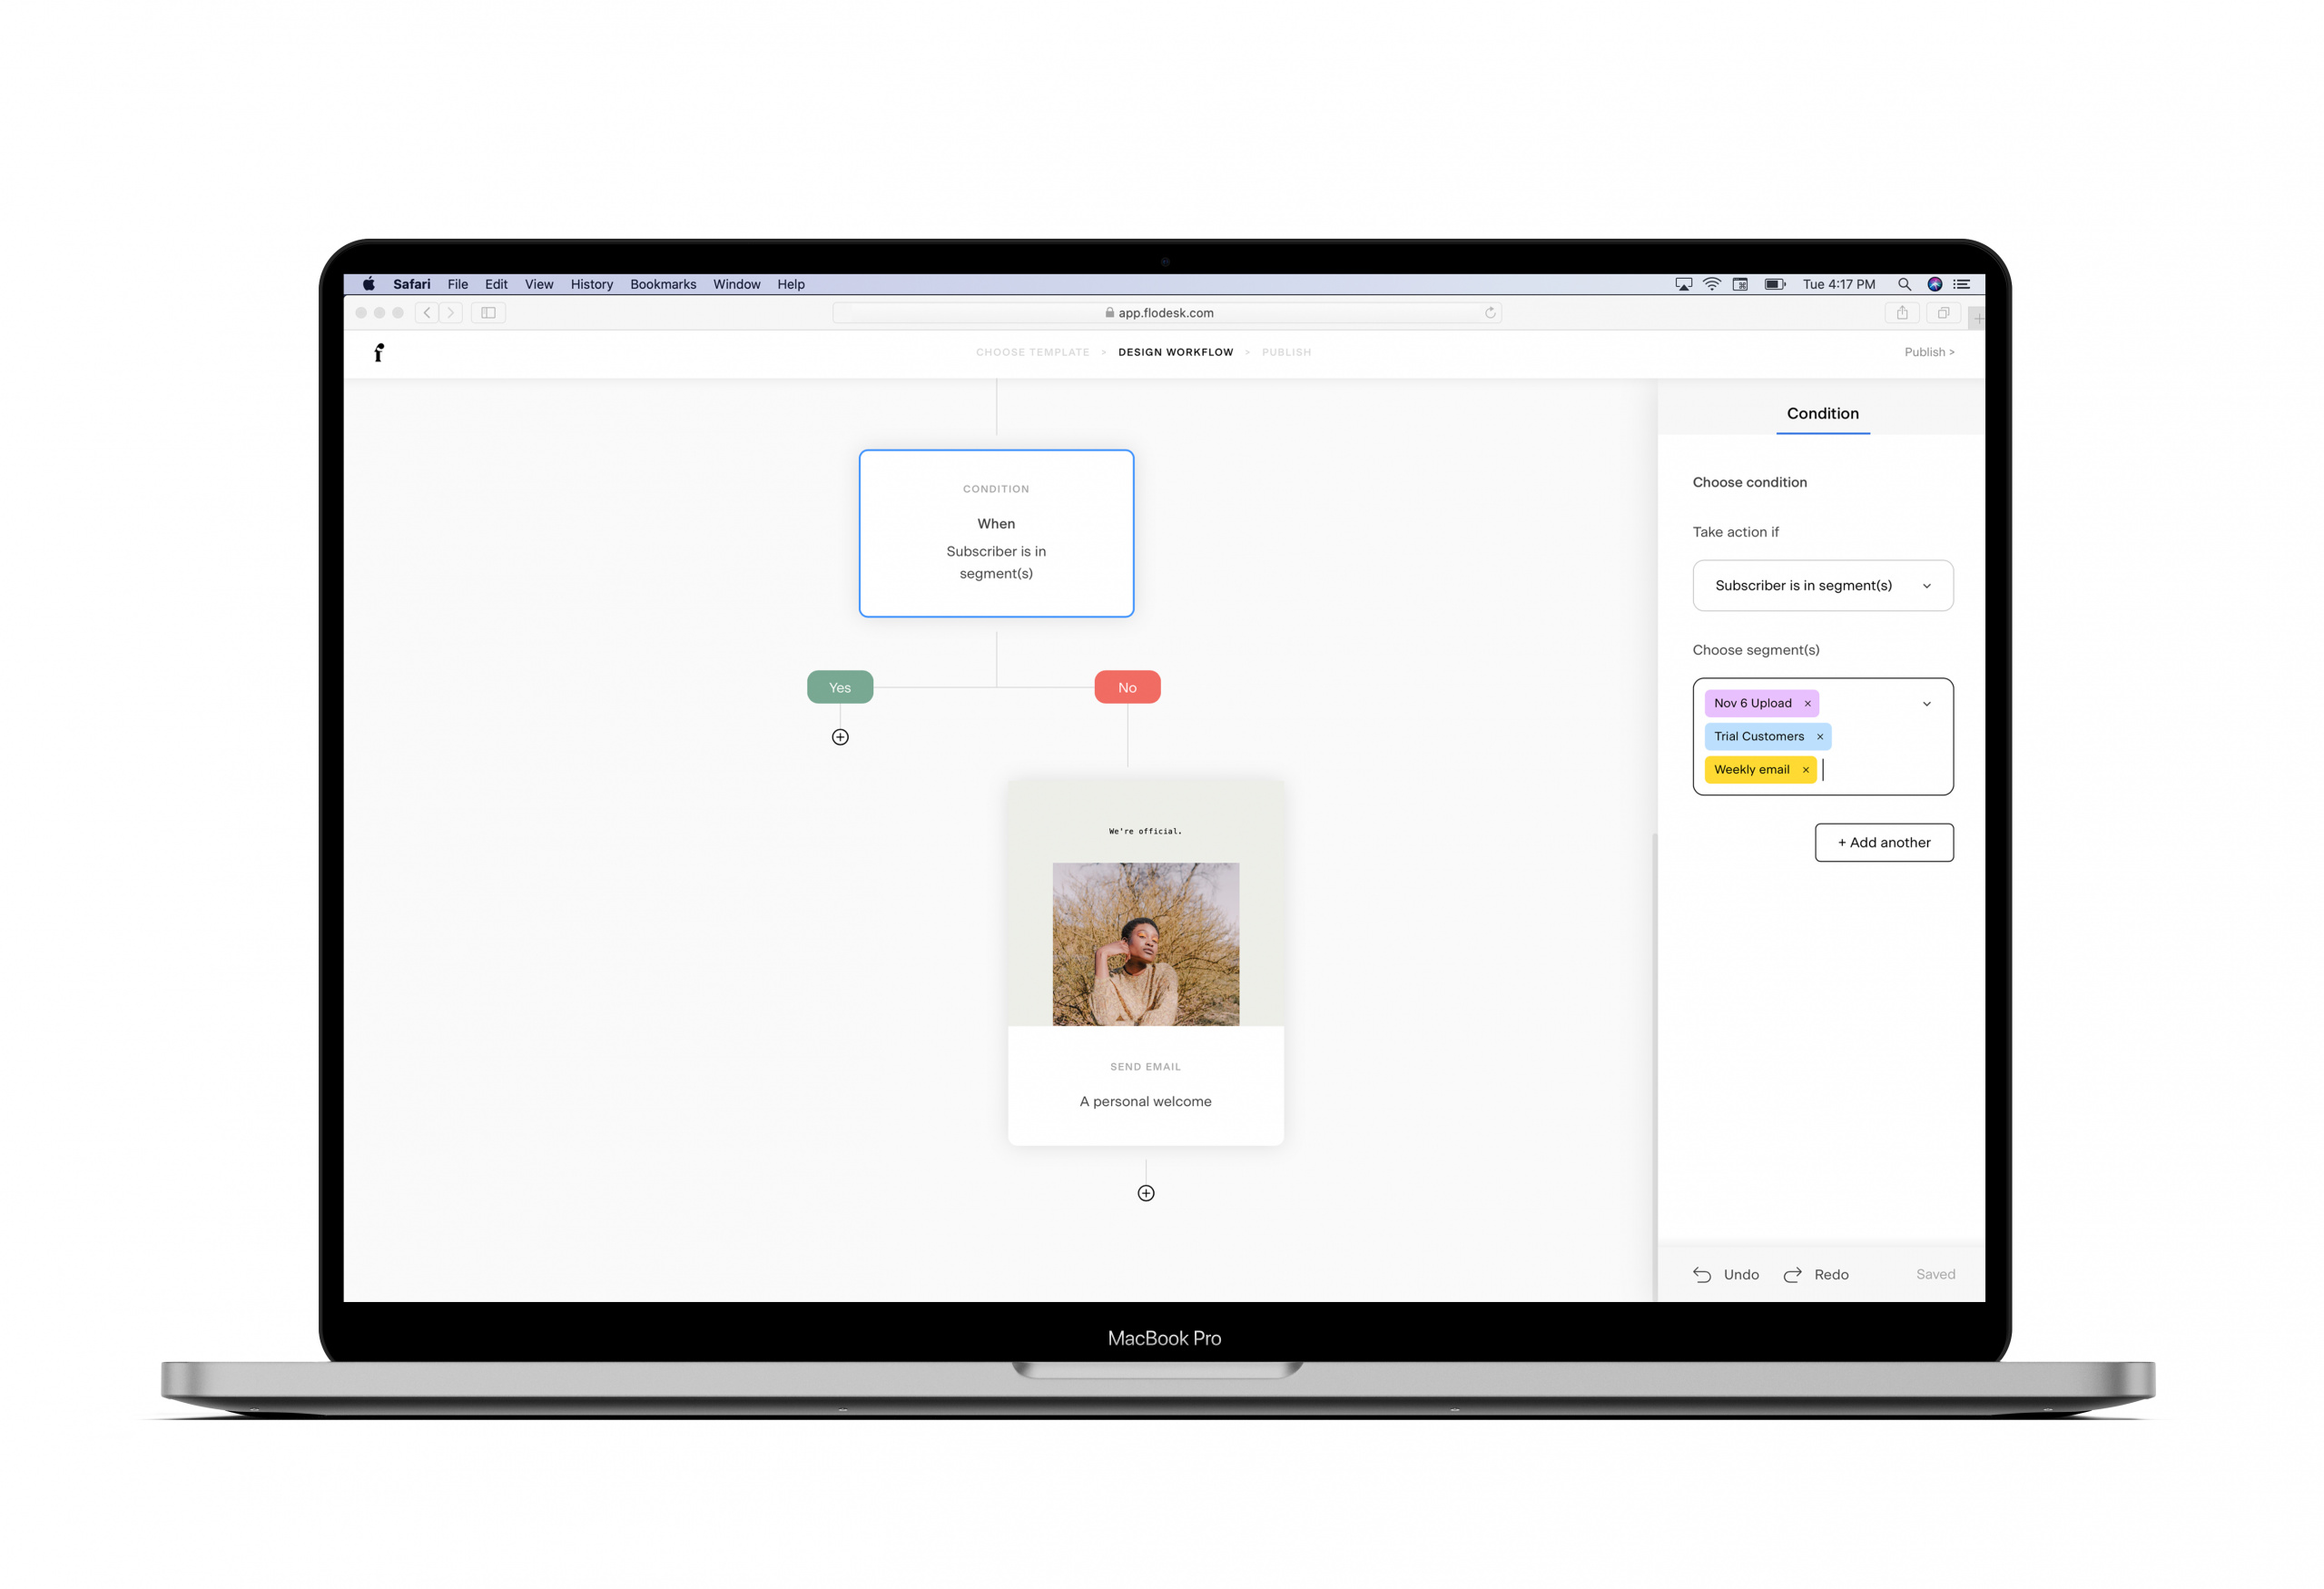
You can also add additional steps or instructions to the sequence at this point using the little ‘+’ button in the workflow. There are a few different options to choose from:
- Email – Send an email as the next step
- Time delay – Wait some time before the next step.
- Condition – Take action based on a condition (like clicking on a link or opening the email).
- Action – Take action as the next step.
If you’re ready to create a series of welcome emails, the course How to Create Your First Email Workflow in Flodesk goes into more detail on using these steps.
The best welcome email examples
Now that you know how to automate your welcome emails, here are some examples to get your creative juices flowing.
The “freebie” welcome email
The “freebie” is one of the most commonly used types of welcome emails because offering something for free is a great way to build an email list. Why? Because it gives people a compelling reason to hand over their email address.
Freebies come in all shapes and sizes. You can offer an ebook, a PDF guide, a bonus pack, a workbook, a checklist, a case study, a cheat sheet, and more. Whatever you choose, make sure it solves a real, specific problem for your target customer.
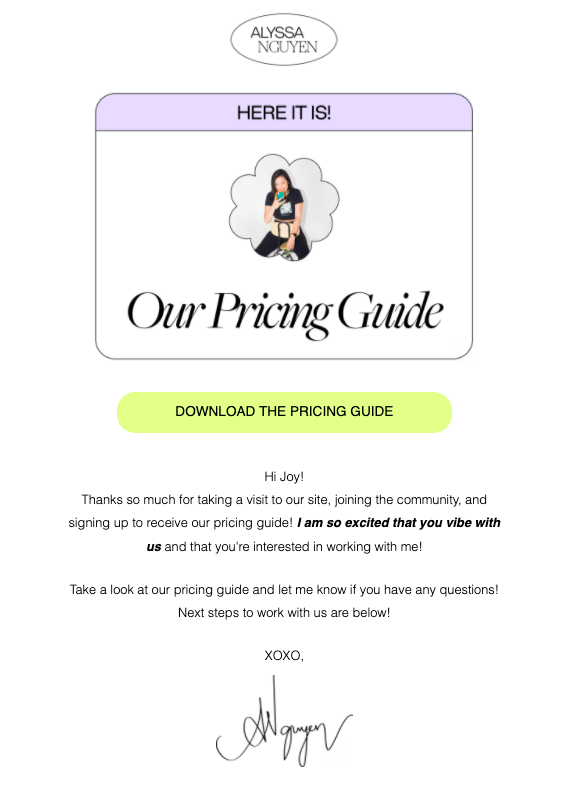
Also, make sure it’s clear to the customer that the freebie is included in the automated welcome email—and make it easy to download. Take the example above from Alyssa Nguyen Design. Here’s why her email shines:
- Clear subject line – Alyssa’s welcome email subject line, “Here’s your pricing guide,” makes it crystal clear to subscribers that this email has the goods.
- Beautiful graphics – As soon as subscribers open the email they see a colorful, attention-grabbing graphic with a bright button they can click on to download the guide.
- Conversational tone – She also includes some friendly, conversational copy to connect with her new subscribers and summarize what’s happened: “Thanks so much for visiting our site, joining the community, and signing up to receive our pricing guide. I am so excited that you vibe with us and that you’re interested in working with me.”
Example template:
Your (insert name of freebie) is here!
Insert graphic
Insert download button
Thanks so much for signing up to receive (insert name of freebie)! I’m so excited to have you on board. Best of luck with the (name of freebie) and give me a shout if you have any questions!
The “discount code” welcome email
The discount code email is similar in concept to the freebie email in that you’re offering subscribers something in exchange for joining. In this case, though, you’re sending them a discount code to use online.
Which one you use depends on the type of business or website you have. If you’re running an online store, for example, the discount code welcome email is a good fit because you have products to sell.
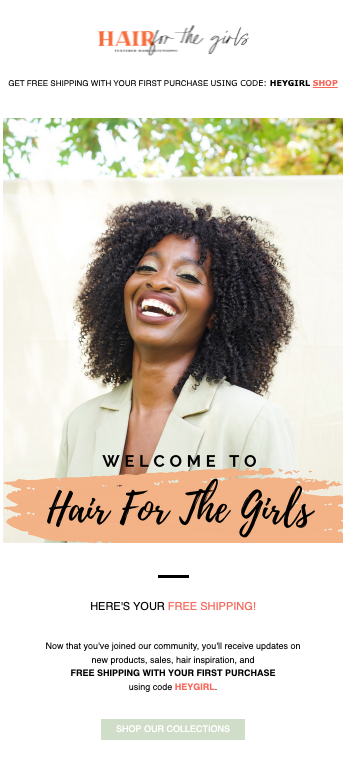
Take the example above from Hair For The Girls. Here’s why this email’s great:
- Leads with value – When readers open the email, they’re immediately greeted with the free shipping offer, along with the code HEYGIRL and a link to shop.
- Beautiful graphics – This is followed by a beautiful, relevant graphic welcoming subscribers to Hair For The Girls.
- Makes it easy – Then, they include another link to the free shipping offer, along with a quick description of what to expect by being on the list: “Now that you’ve joined our community, you’ll receive updates on new products, sales, hair inspiration, and FREE SHIPPING WITH YOUR FIRST PURCHASE using code HEY GIRL. “
Example template:
Thanks so much for subscribing!
Here’s a little something to say thanks!
Insert discount offer (free shipping, percent off, buy one get one offer, etc.) and code.
Now that you’re part of our community, you’ll be the first to know about new products and sales. Happy shopping!
The “personal touch” welcome email
The personal touch welcome message is like sending a quick thank you note for subscribing. It works by establishing trust with the reader right off the bat because you’re not trying to sell them anything.
In fact, you’re not even giving them anything—there’s no transaction of any kind in this type of email. This makes subscribers feel like your thank you is genuine and sets the stage for future communication.
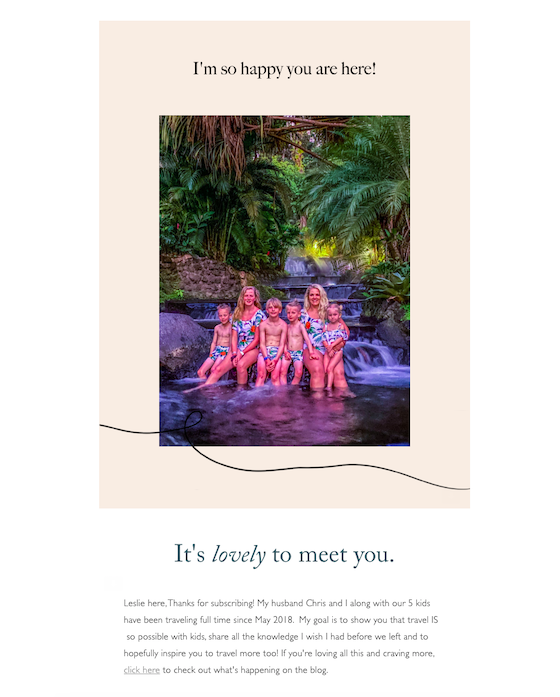
Take the email above from Leslie at 7Wayfinders, for example. Here’s what she does right:
- Accessibility: Leslie leads off by saying, “It’s lovely to meet you,” and then introduces herself and her family, using first names. She even includes a phone number and encourages readers to text her!
- Personal image: She includes an actual photo of herself and her family, letting readers get to know them on a personal level.
- Conversational tone: Then she wraps up with another thank you section: “I just have to say—no matter how you got here, thank you. We are thrilled to have you follow along and get to know you more.”
Example template
I’m so happy you’re here!
(Insert brief description of yourself and your business.)
I’m just thrilled you’ve joined the community. Thank you so much for subscribing!
Get unlimited email sends & subscribers with Flodesk
We’ll never increase pricing because your email list is growing
What are the best practices for welcome email automation?
In this section, we’re going to cover some best practices to keep in mind when working on an automation campaign.
- Send welcome emails immediately: 74% of consumers expect to receive a welcome email shortly after subscribing. If they don’t get one, most think they did something wrong or something’s wrong with your system. Don’t let that happen!
- Keep the design and tone on brand: If someone has subscribed to your email list, they’ve already had a good experience with your brand, either through your website or social media. Keep the good vibes going by staying on-brand with your welcome message.
- Consider the subject line: Your subject line can make or break your open rate, with 47% of recipients choosing to open emails based on the subject line alone.
- Use a series of welcome emails: You can nurture a much stronger relationship with your customers by using a series of welcome emails as opposed to a one-and-done approach. Research shows welcome series can increase click rates by 15x and customer lifetime value (CLV) by 23%.
- Always make sure emails are relevant and high value: Sending too many emails without enough value is a sure-fire way to lose subscribers. In fact, 69% of people unsubscribe from brands because they email too frequently.
Start automating with Flodesk
Flodesk is the fastest-growing email marketing platform on the market, helping small business owners design emails people love to get. Flodesk offers workflows that allow users to intuitively automate lead magnet delivery, welcome sequences, and more with an easy-to-use visual builder.
Welcome email automation FAQs
What is a welcome email sequence?
A welcome email sequence is an automated workflow that’s triggered when a customer subscribes to your list.
What should be in a welcome email sequence?
A welcome email sequence needs to have a form, an audience segment, a welcome email, and a trigger event.
When should you send a welcome email?
People are waiting for your welcome email so it’s best to send it as soon as they subscribe.