3 Steps to Send Out Your First Flodesk Email
Table of Contents Jump to:
Jump to:
Table of contents
If you’re new to Flodesk or email marketing in general, then this detailed guide will help you get started quickly so you can send your first email ASAP.
First things first.
What do you need to start email marketing?
In essence, you need this bare minimum to start:
- An email (marketing) service provider (ESP): an email service provider (like Flodesk!) is a company that has the necessary infrastructure and tools to allow you to send out one email to multiple recipients.
- A sending email address: this will be displayed in your subscriber’s inbox as the sender of your email. Also, all replies you get from your subscribers will be directly delivered to this email address.
- A list of opted in subscribers to send your emails to: these are people who sign up for your email list via your newsletter opt-in form or via your freebie/lead magnet offer.
- An opt-in form: new subscribers will enter their email address to get on your list and will be added to a segment you define for the form.
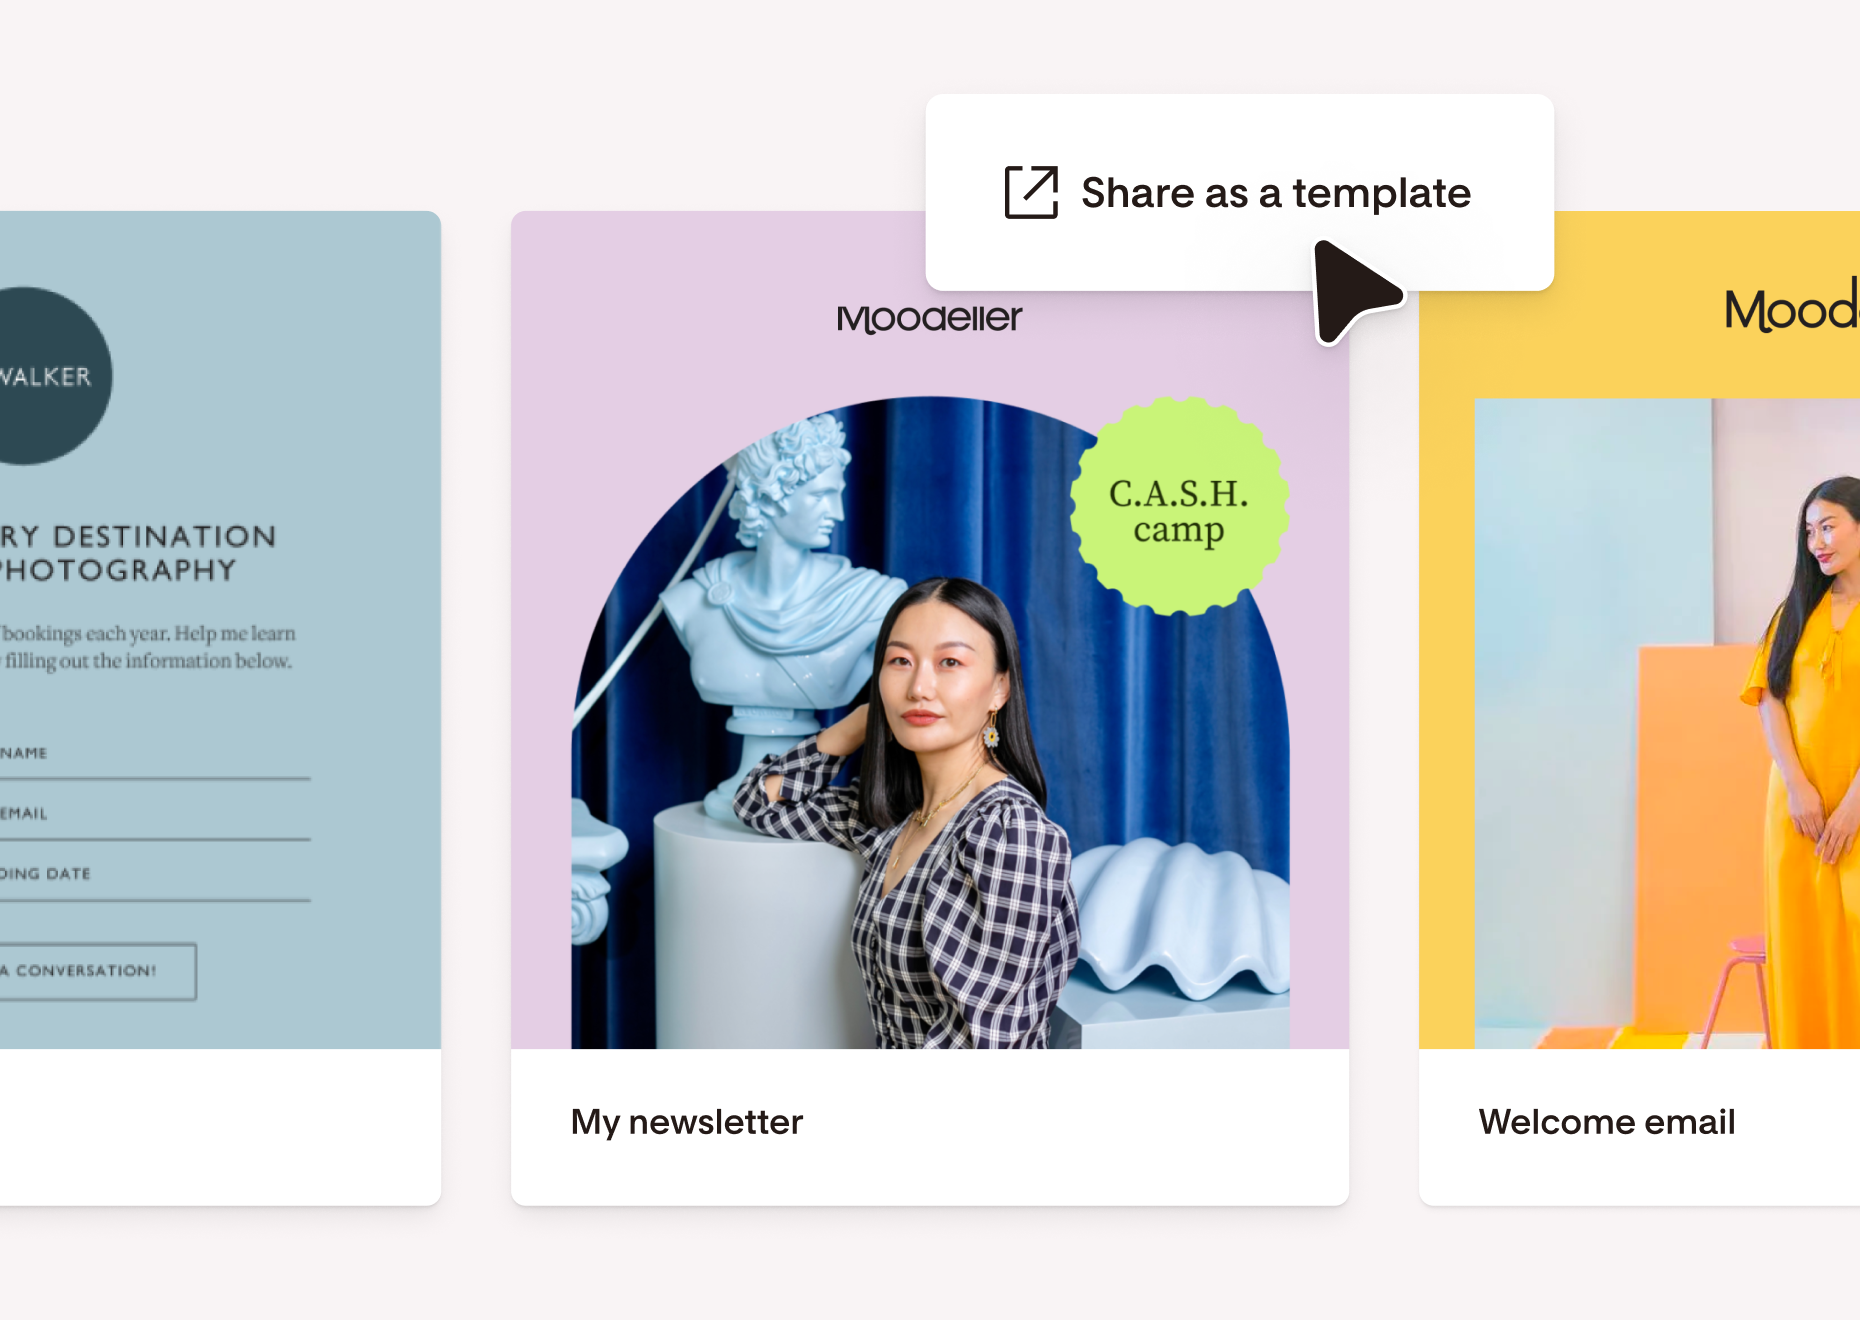
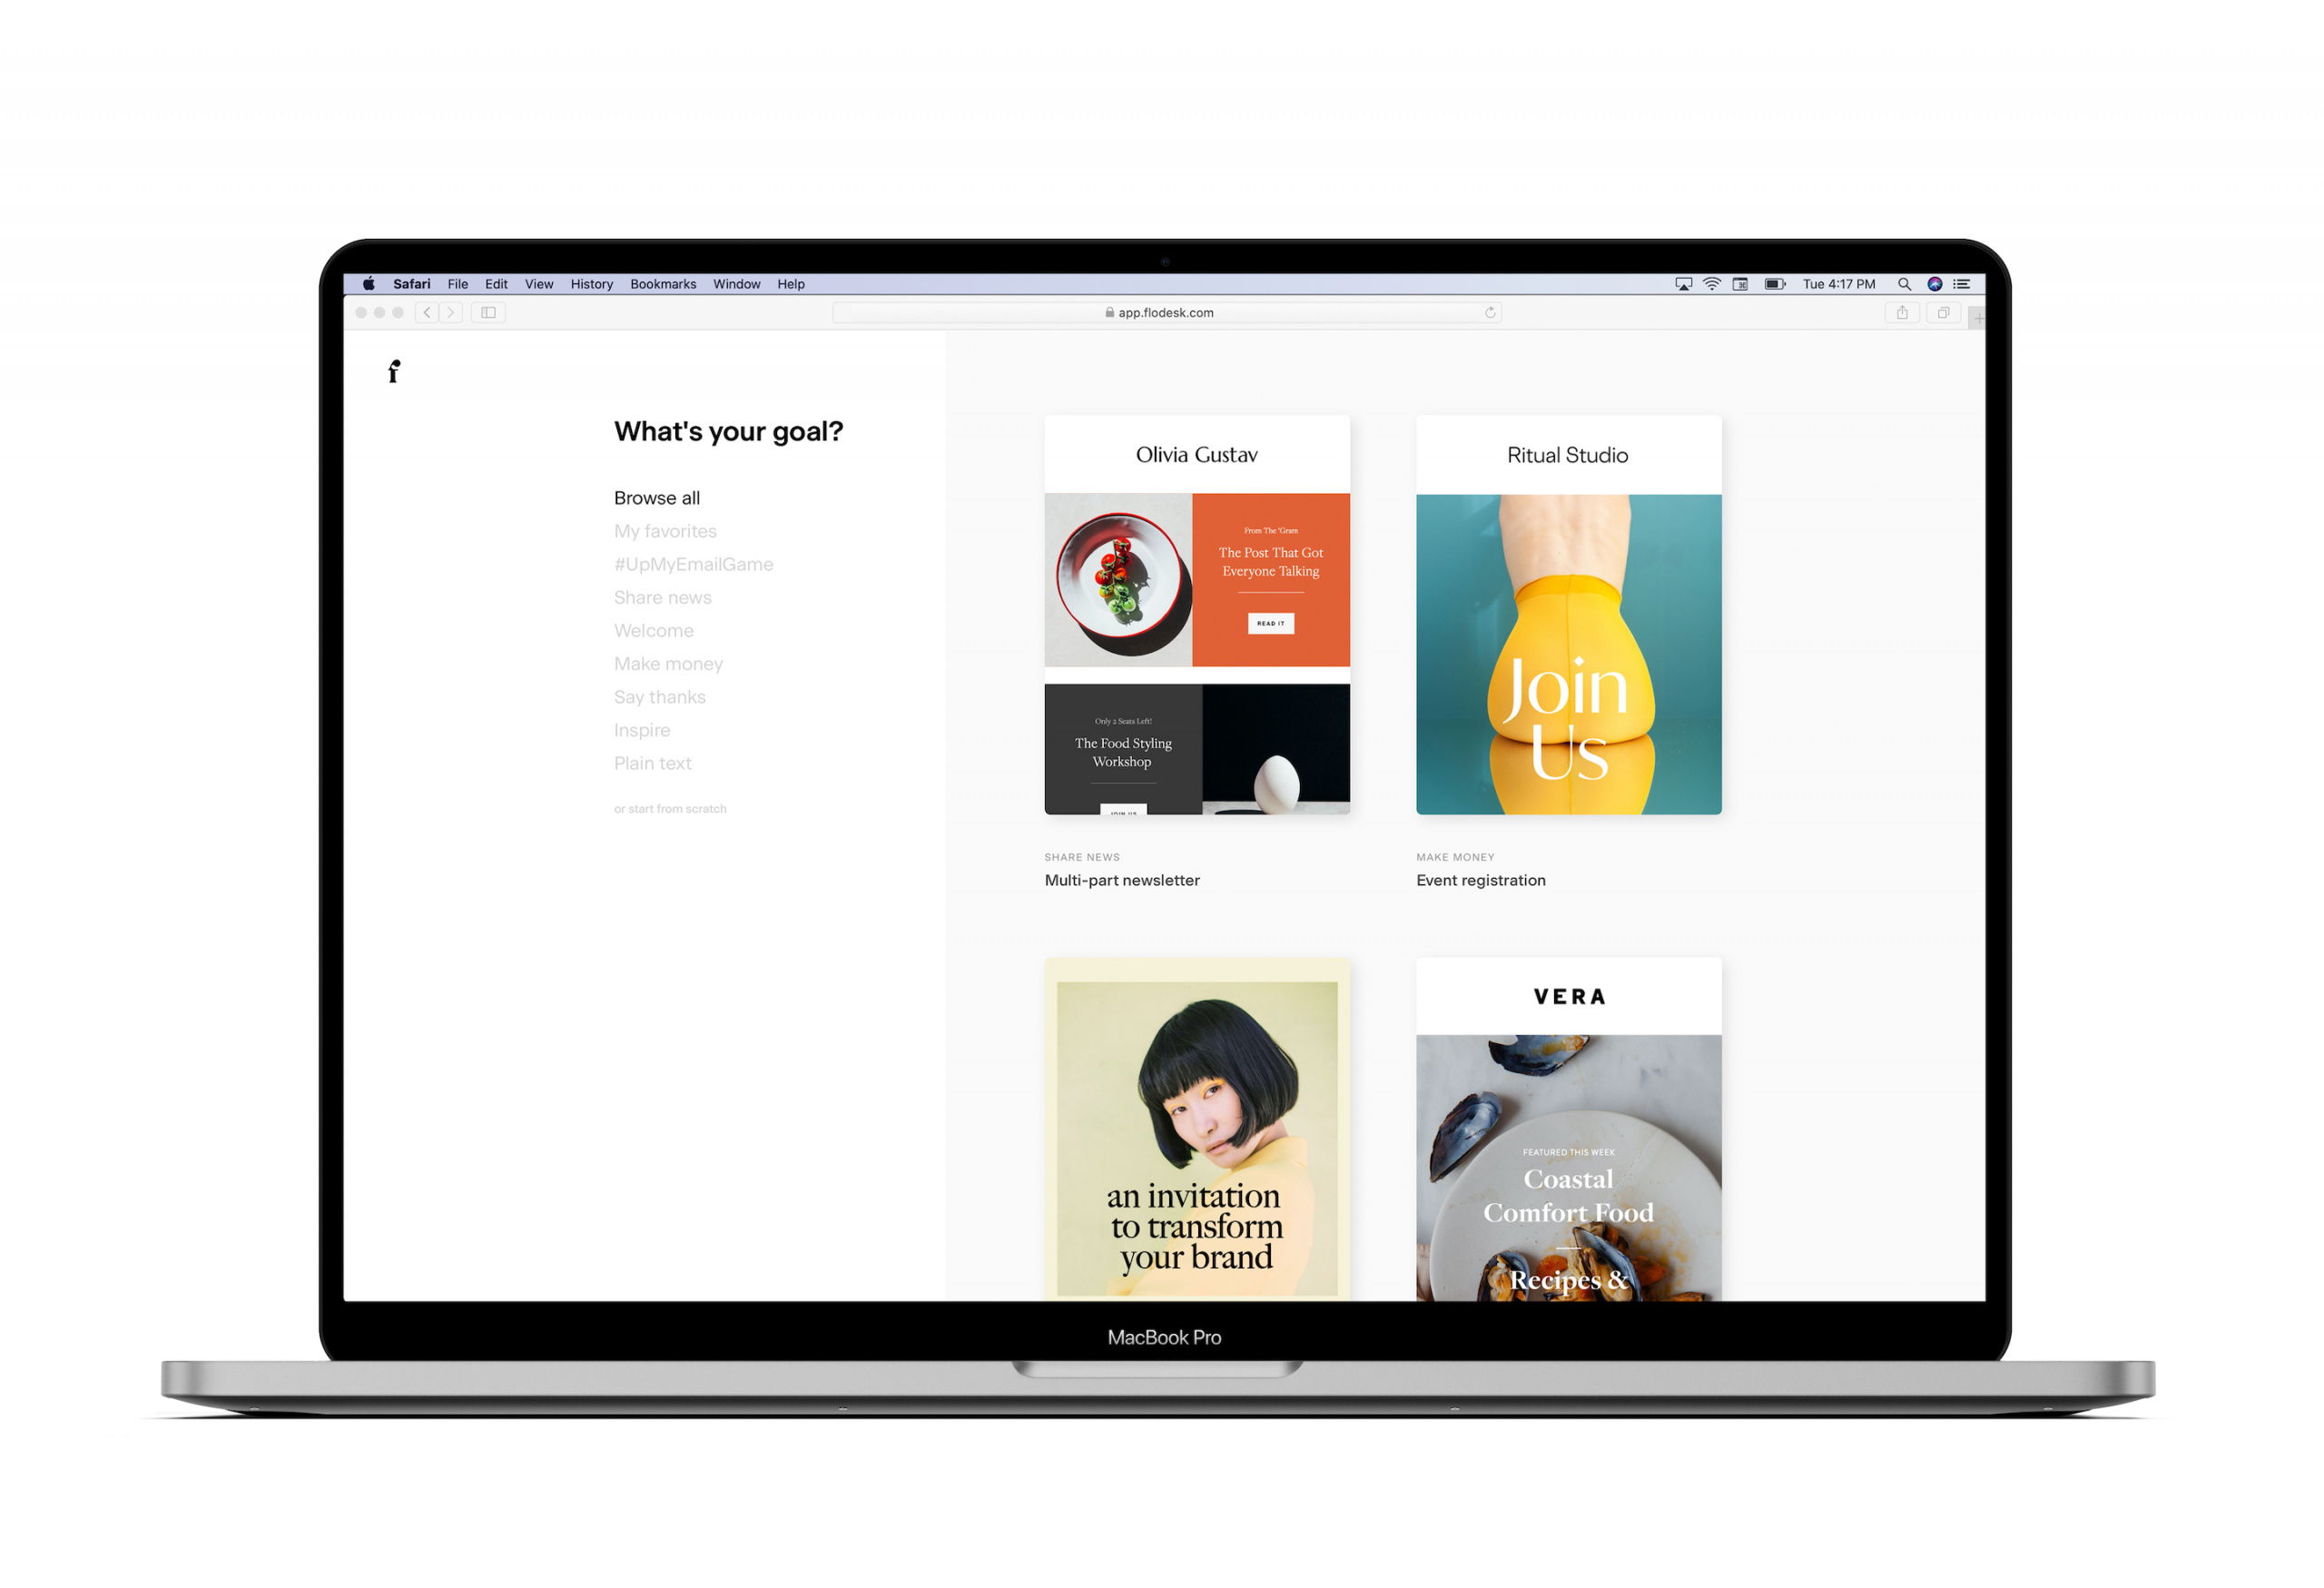
- An email to send: use our curated email template gallery and proprietary Layout Blocks to create gorgeous email graphics, add a cursive signature sign-off and make your message pop with a huge variety of specialty fonts—no third-party design software needed.
Selecting Flodesk as your ESP comes with unmatched perks—access to our template galleries of emails, workflows and forms, to name a few. And unlimited emails, subscribers, forms and workflow automations for the lifetime of your subscription. Our flat pricing means that you won’t pay more no matter how big your email list grows.
Get unlimited email sends & subscribers with Flodesk
We’ll never increase pricing because your email list is growing
After starting a trial or becoming a member, you’ll want to set up your Flodesk account. We created a quick guide to walk you through how to set your sending email address, add your logo and more. Once your account is set up, you’re ready to send out your first email!
The 3 essential steps to send out your first Flodesk email
Step 1. Upload a CSV of opted-in subscribers
Your email needs recipients. Upload a CSV of opted-in subscribers so you can keep emailing your existing list.
Learn more about how to move your subscriber list from your old provider to Flodesk.
If you’re just starting with email marketing and have no subscribers yet, head to step 2.
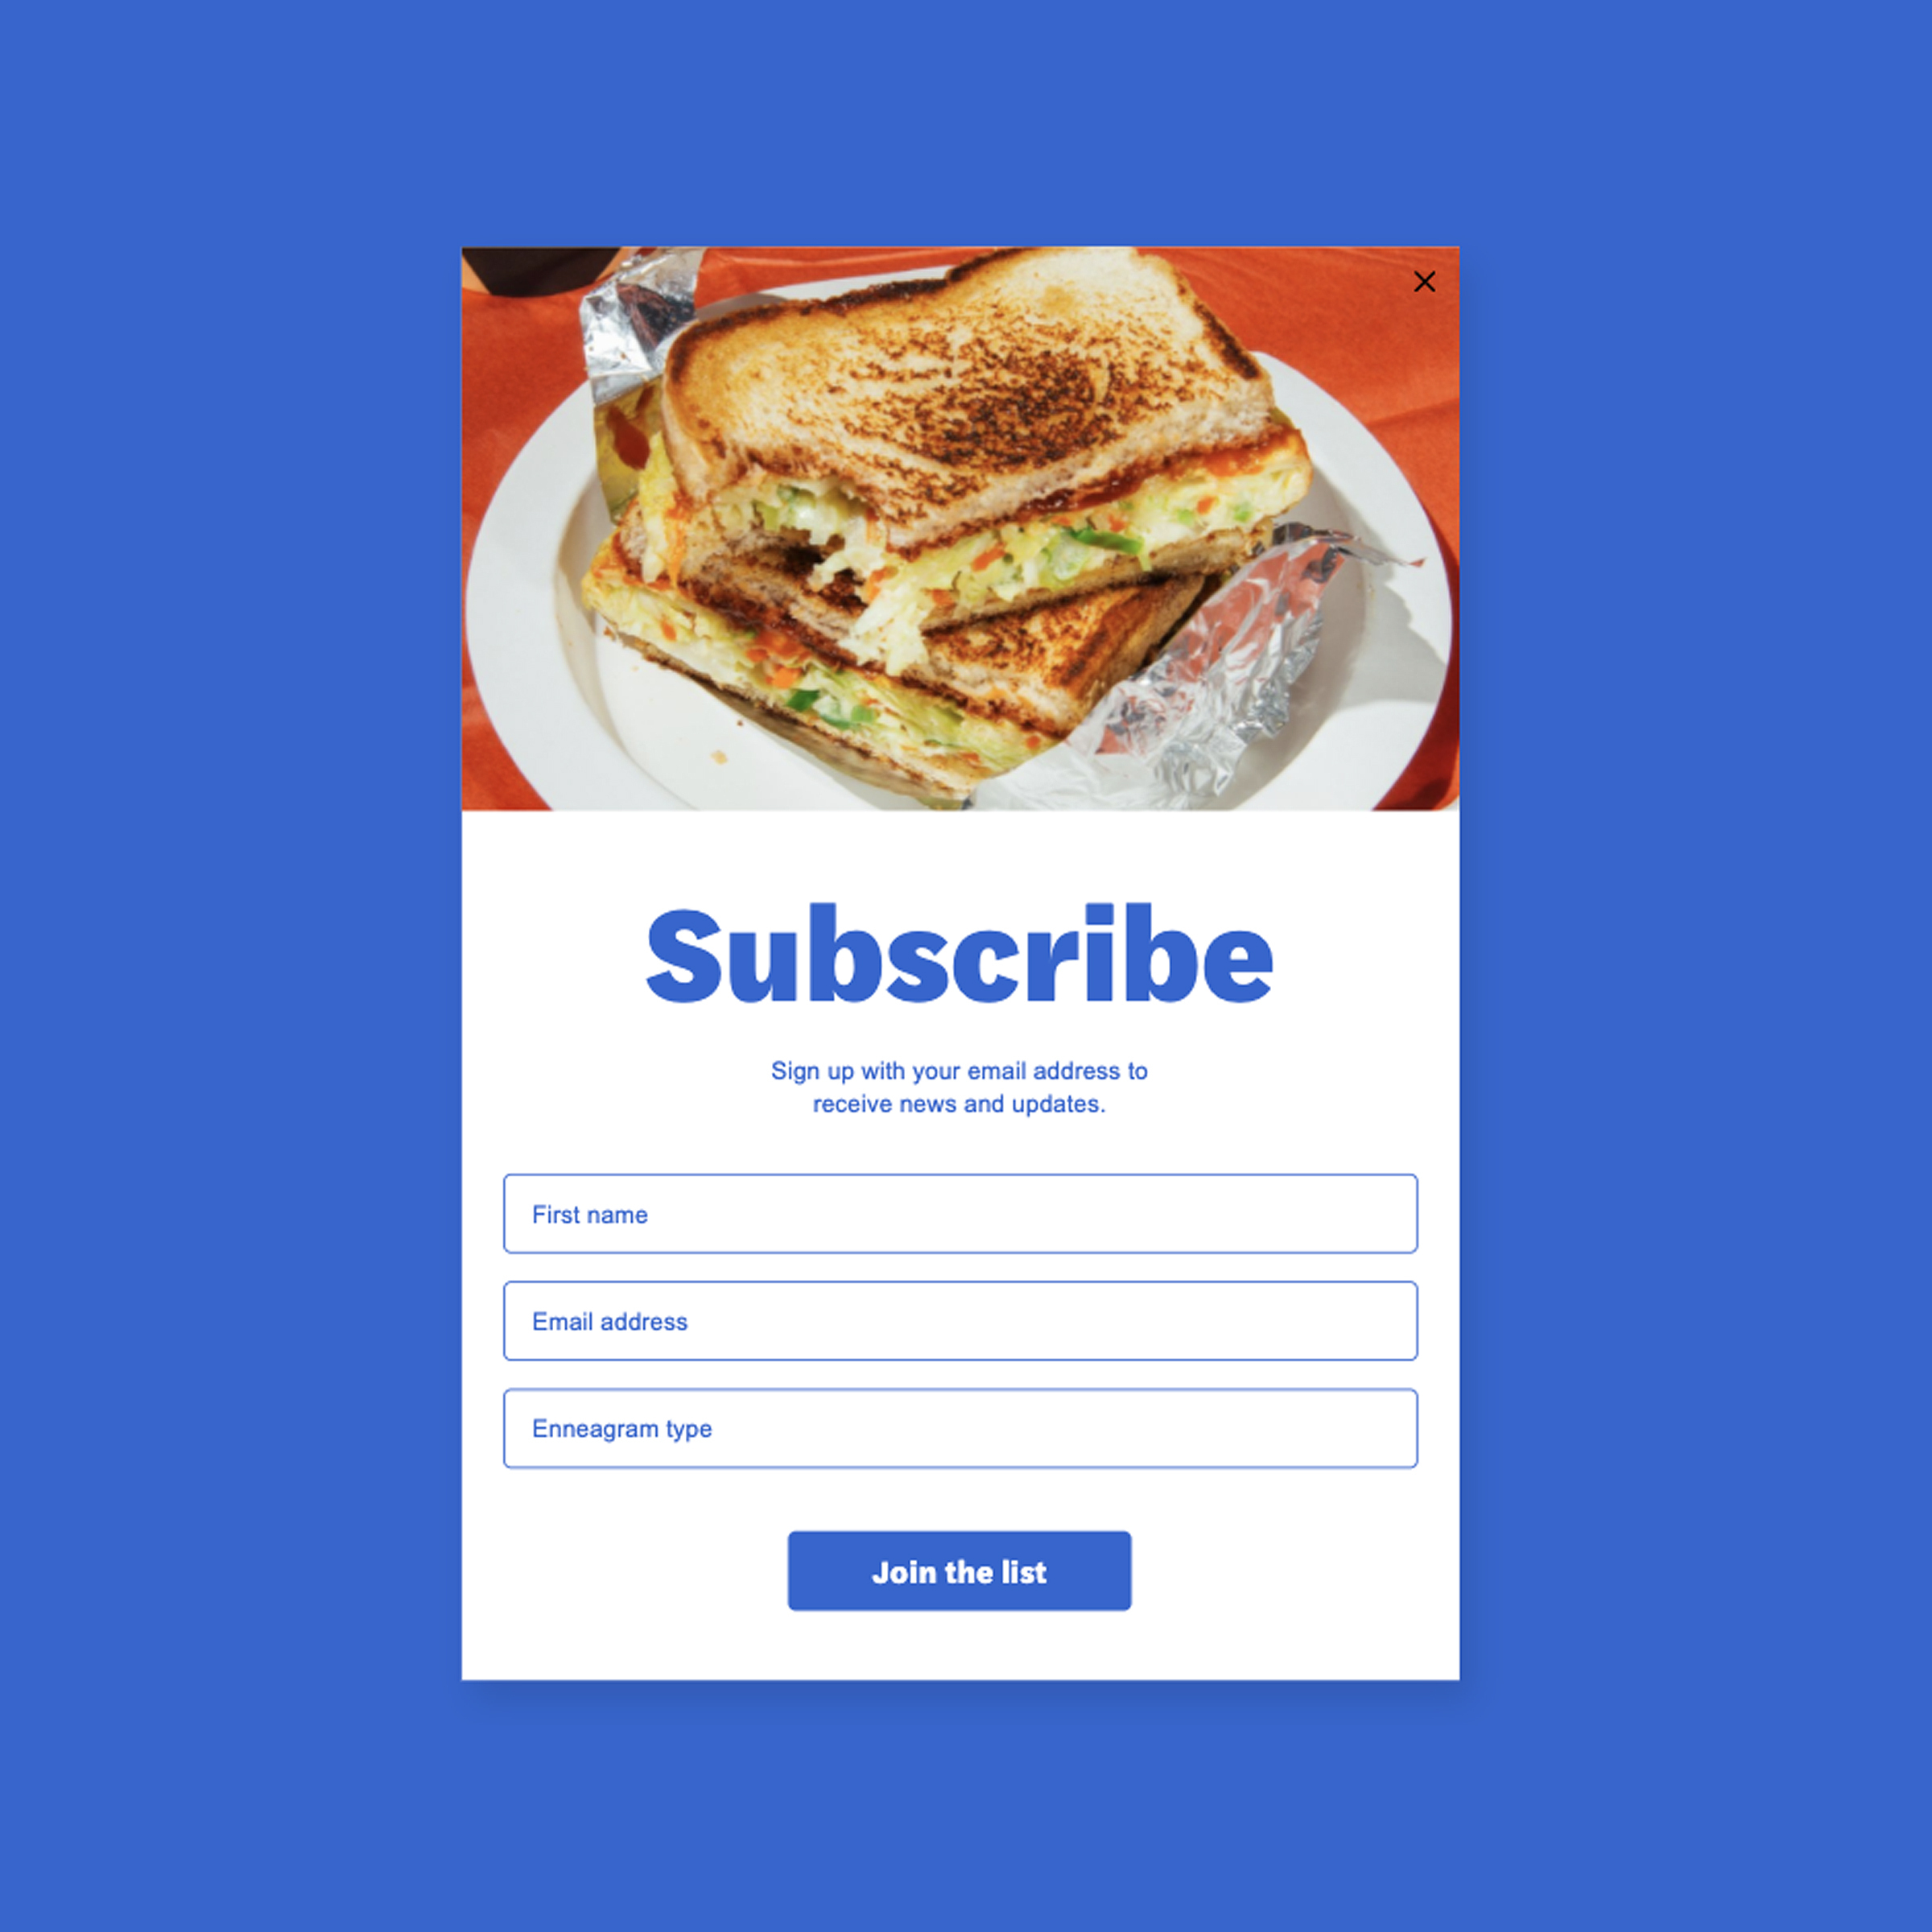
Step 2. Create an opt-in form
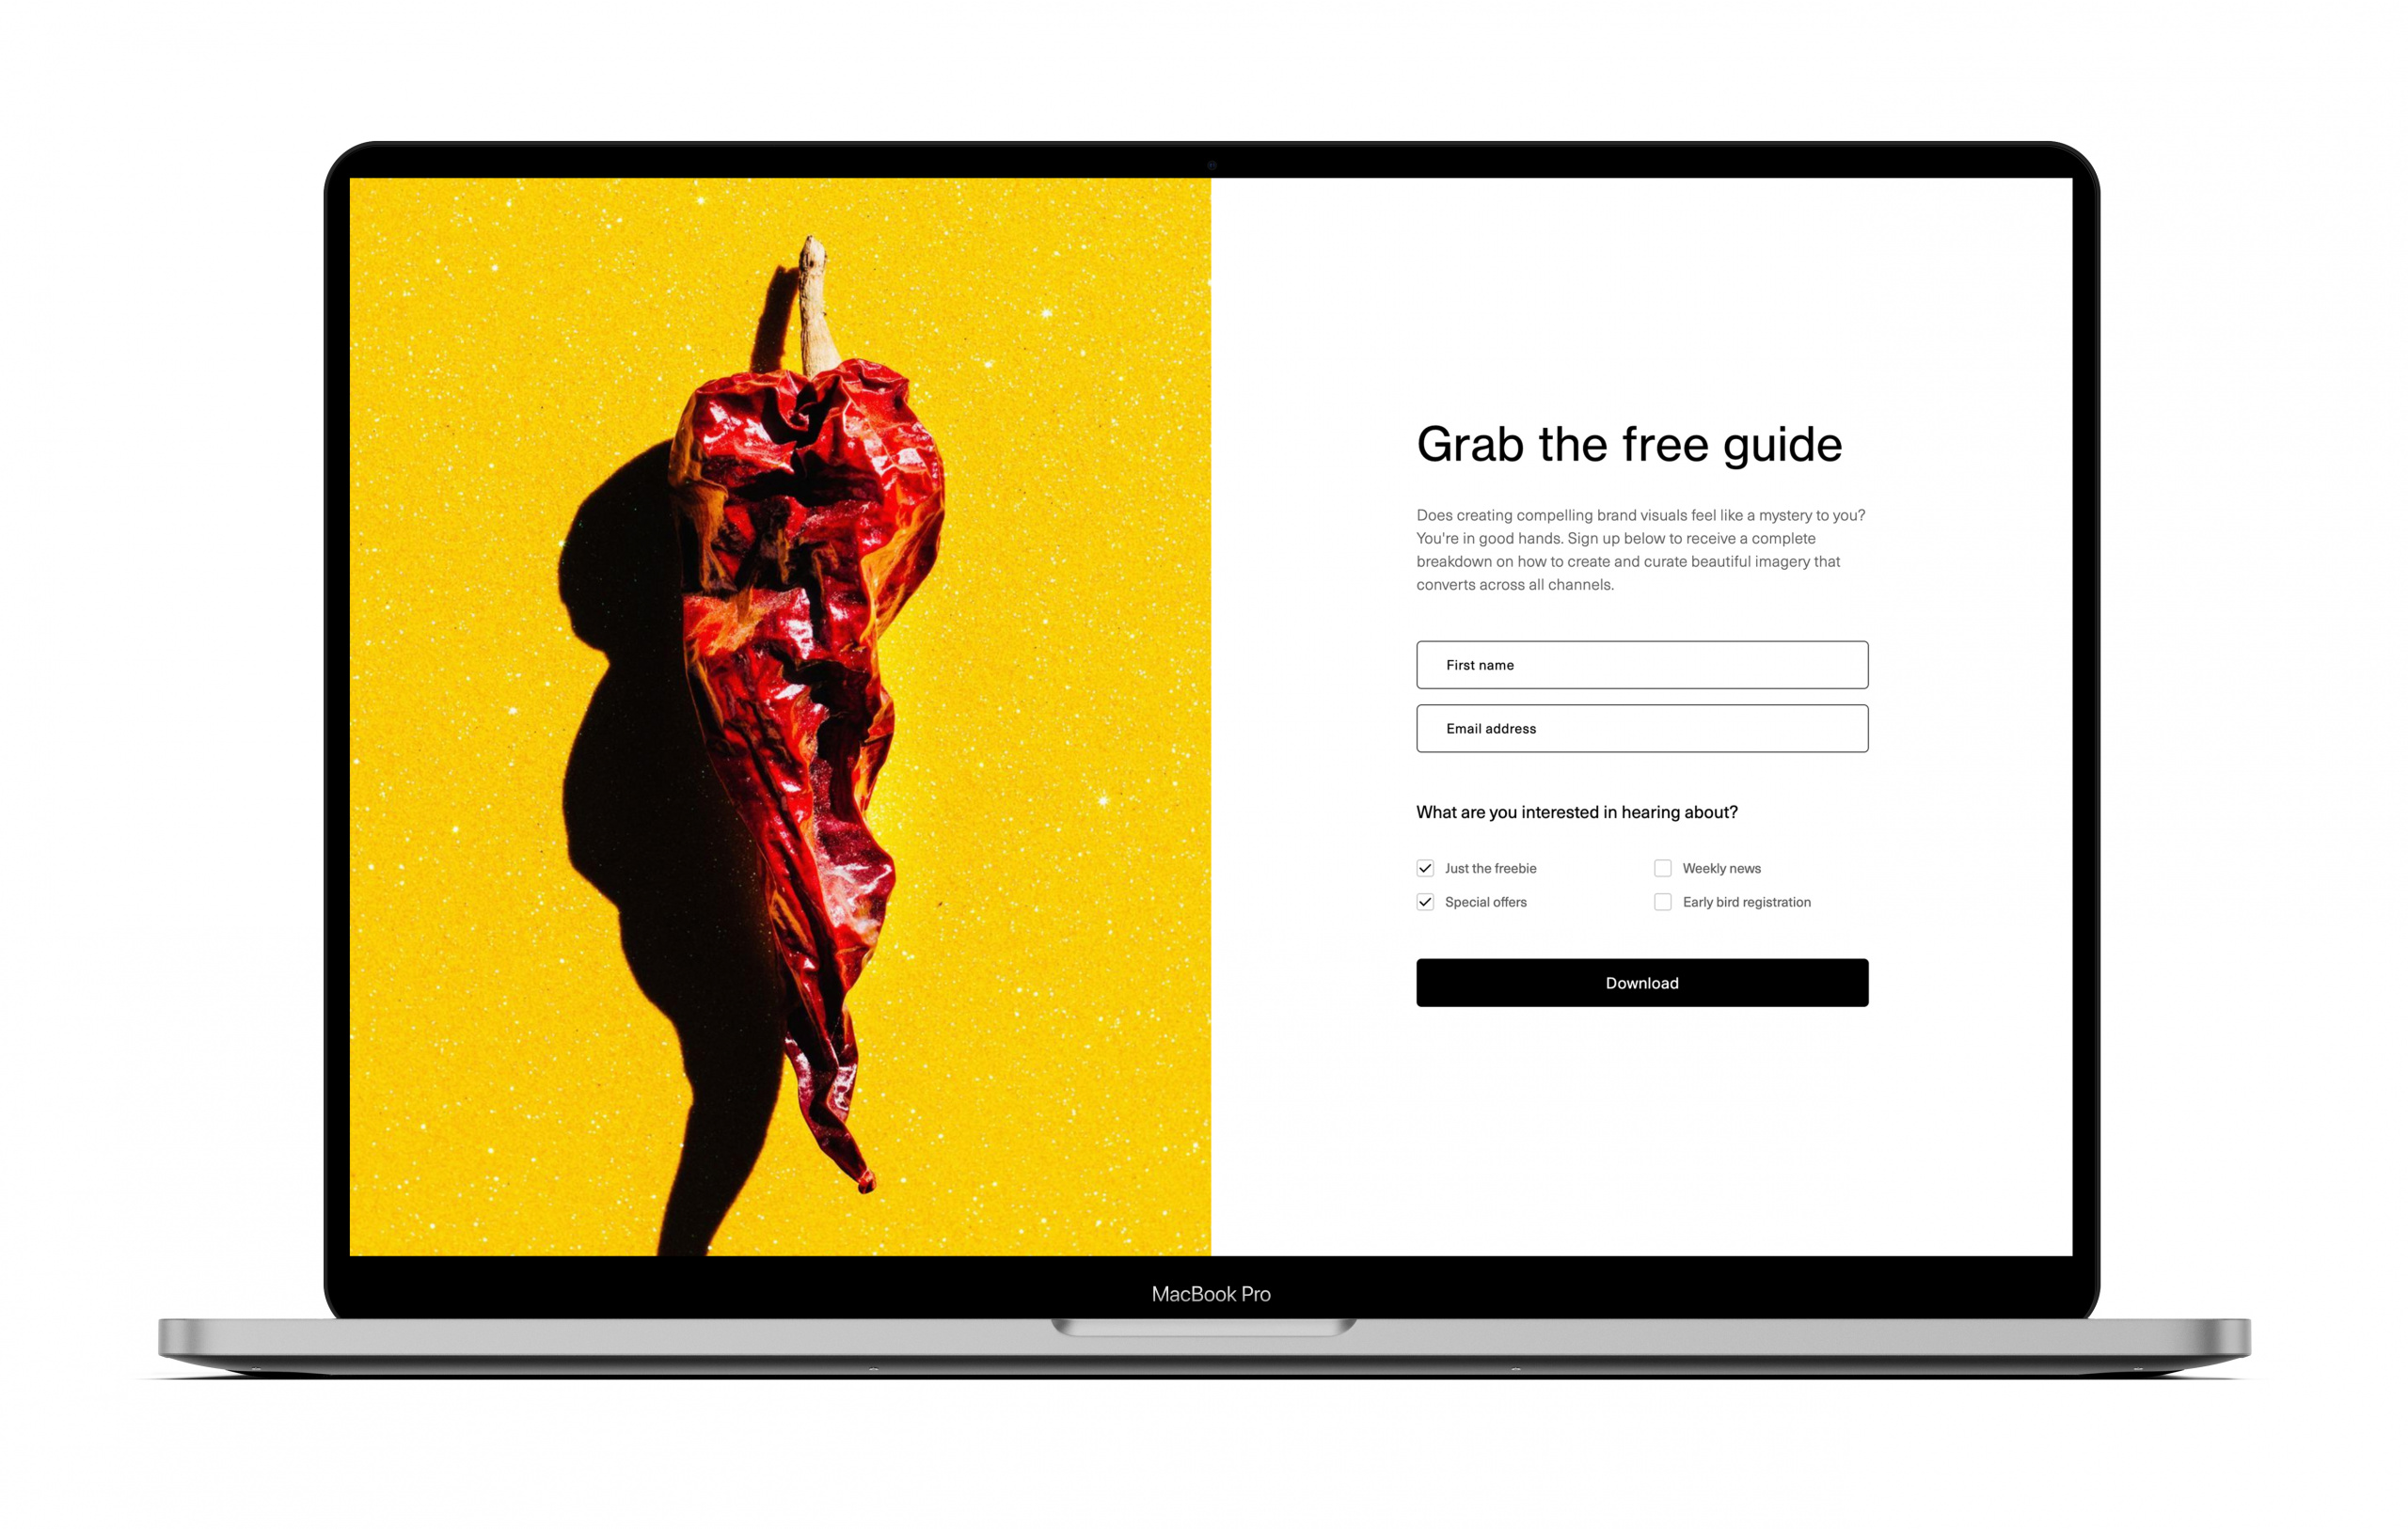
Creating your first form helps you build your list with Flodesk.
First, create a segment for your opt-in form
- For your opt-in form, you need to define a segment where subscribers will be added to.
- To create a segment, go to the Audience dashboard > Segments tab and click create +New segment.
- Give a name to the segment that helps remind you what it stands for or how people joined your list.
To learn more about Segments, visit our Help center collection.
Next, design your opt-in form
At Flodesk, you can choose from three different form types:
- Popup form: when someone visits your website, the form pops up on the screen. You need to add the popup form’s code to your website or blog.
- Inline form: this type of form appears as a natural part of the website as your visitors scroll down the page. You need to embed the inline form’s code to your website or blog.
- Full page form: it comes with a unique, shareable URL and can be used if you don’t have a website yet—or if you don’t want to be bothered with embedding codes to your website.
First of all, decide what kind of form you want to create. Then write the copy in a blank document and edit it until you’re happy with it. Later, you’ll copy-paste it into your selected form template.
Form images will resize responsively depending on how much copy text you use on the form and whether it’s viewed on a desktop or a mobile device.
When selecting graphics for your forms, our advice is to choose—or create—one where the main elements aren’t too close to the image edges to avoid them being cropped as the image fits into the placeholder area on the form.
After you’ve prepared everything, go to your Forms dashboard and click on create +New form.
- Select one of the form categories (popup, inline, full page) and pick a template to customize.
- When asked, choose the segment you previously created from the dropdown list. Subscribers who opt-in to this form will automatically be added to this segment.
- Highlight the placeholder text on the form and simply replace the copy with your own from the document you prepared.
- Use the settings panel on the right to apply a nice font, font color and font size.
- If you picked a form template with an image placeholder, upload your image from your computer.
- Remember to update the form fields and the submit button, too!
Learn more about how to customize forms for your brand.
One thing to note before we move forward to build your first email:
- If you created a popup form or an inline/ribbon form, you would get code snippets at the end of the form customization steps. You need to embed them on your website.
- If you started with a full page form template, you would get a shareable URL at the end.
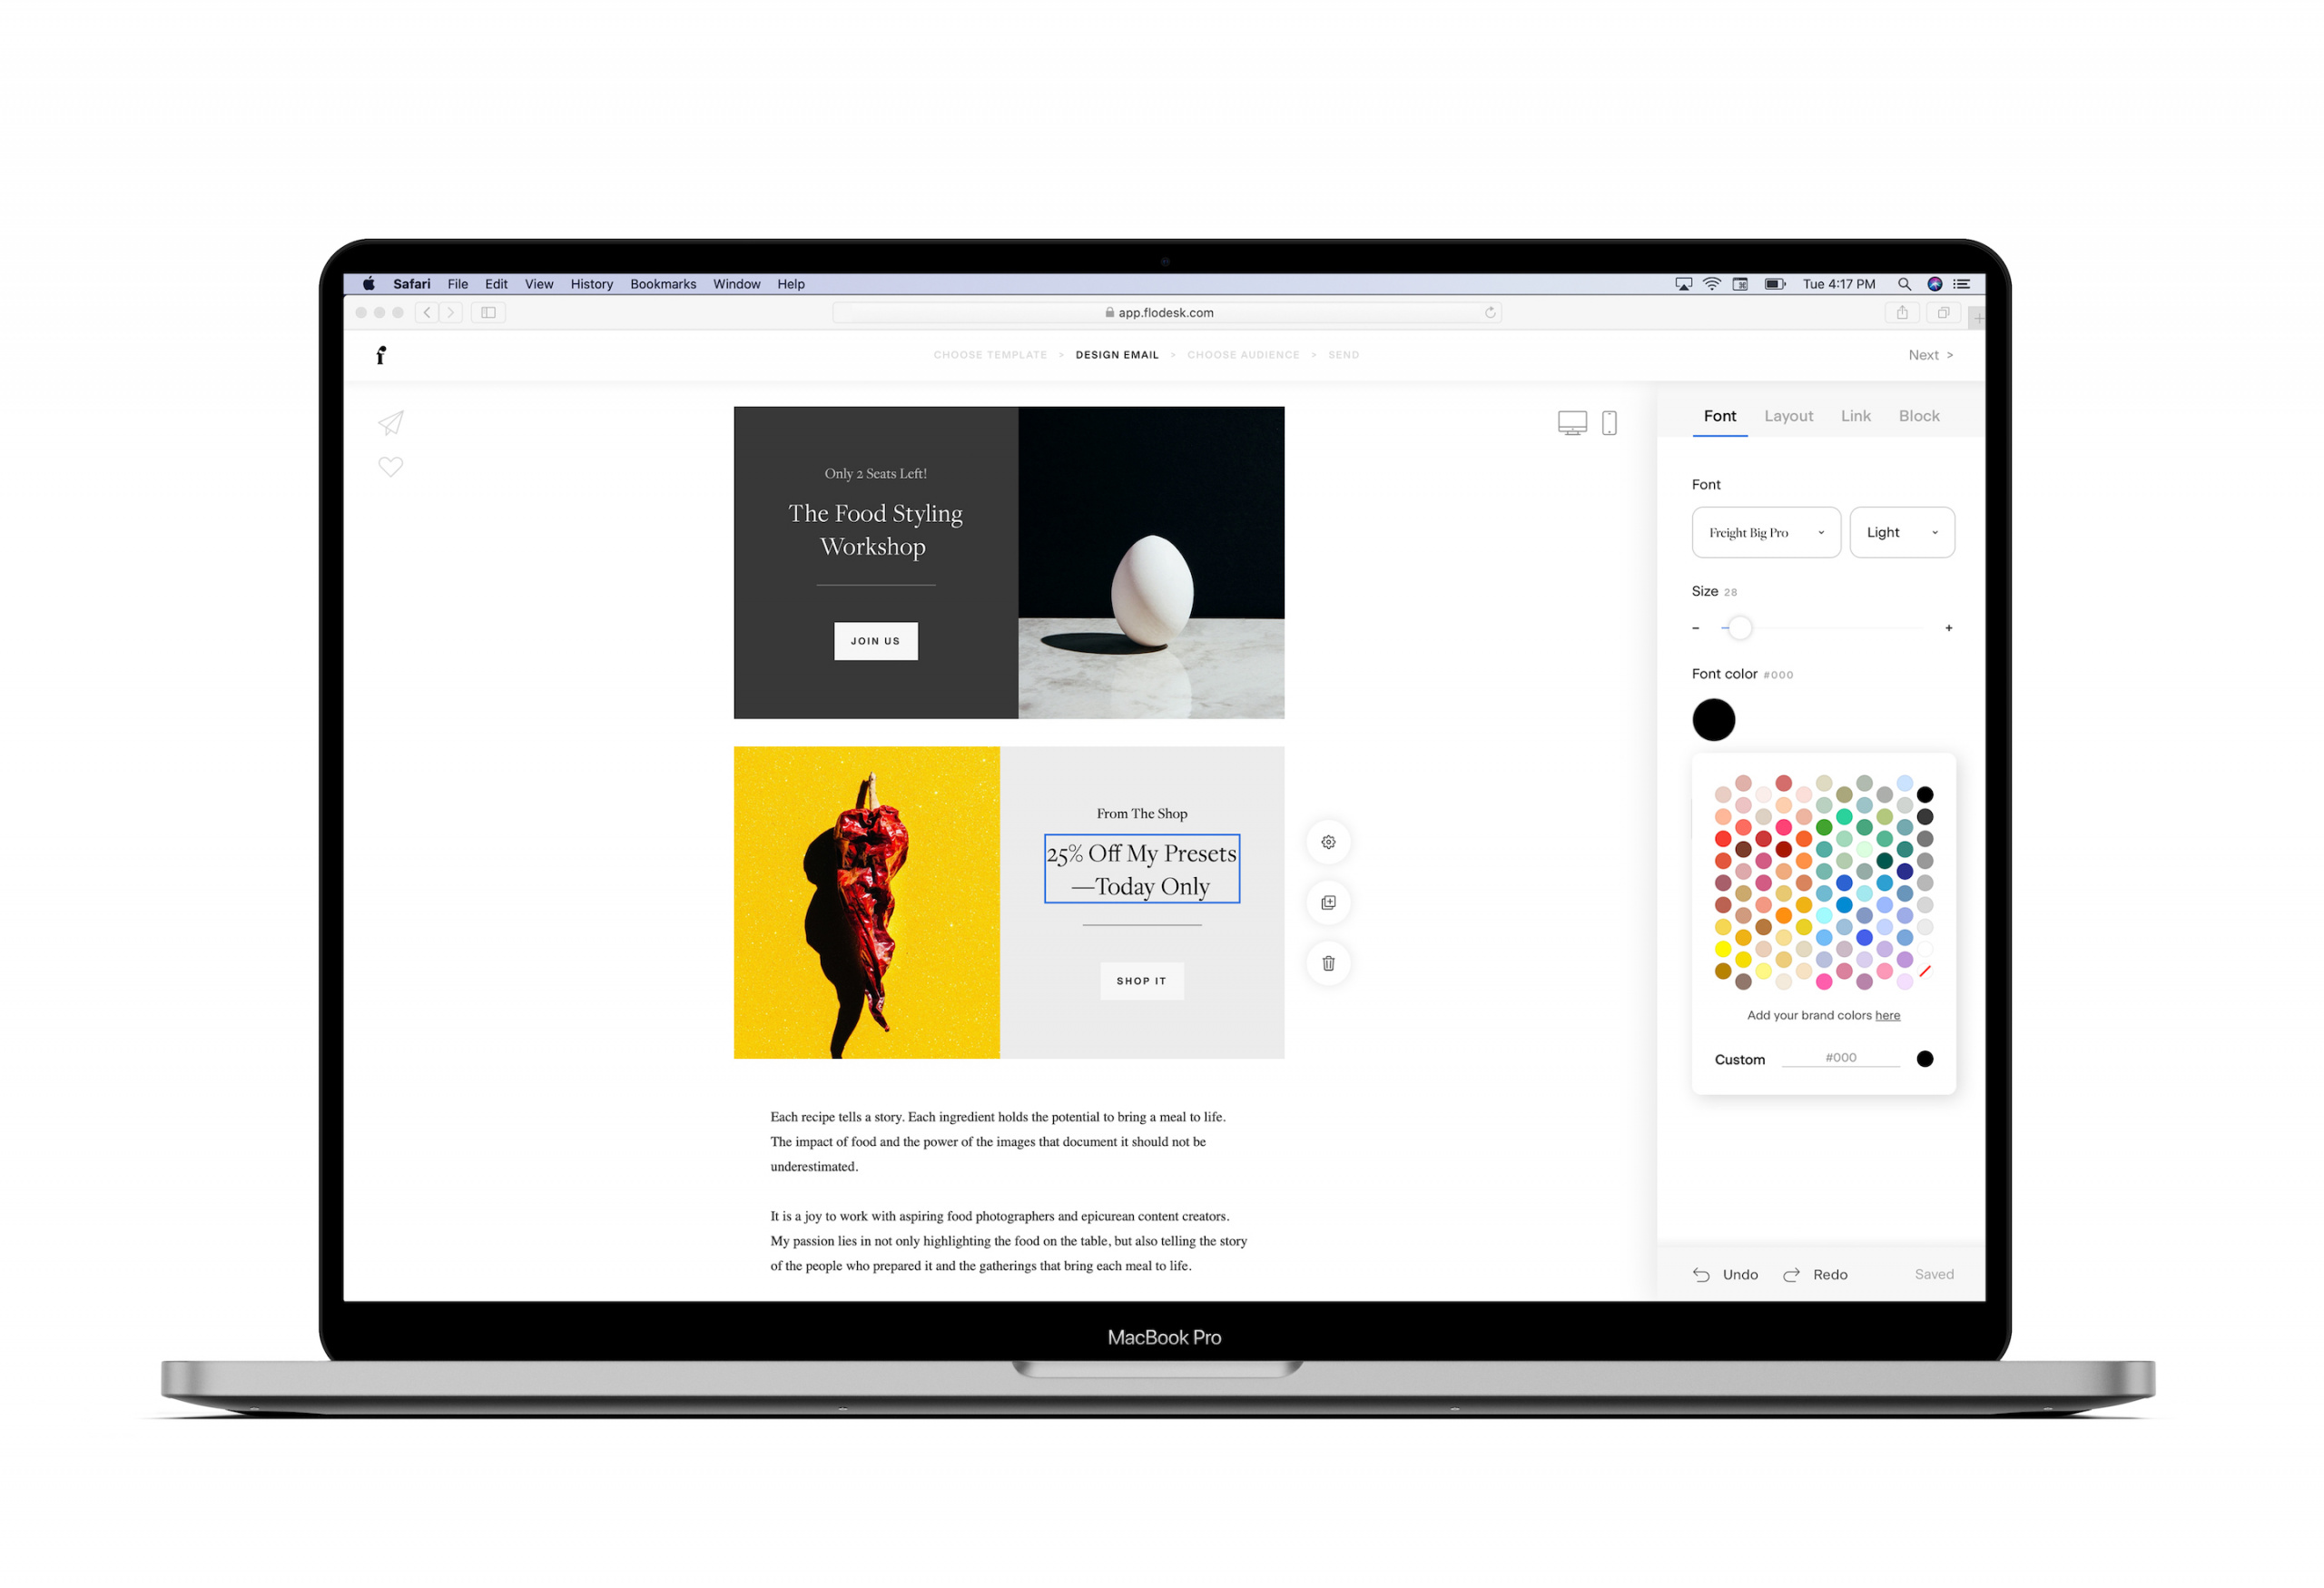
Step 3. Build your first email and send it out
Pro Tip: Draft your email copy in a blank document. This way, you can easily copy-paste your email content into Flodesk. Also, create a folder on your desktop where you can collect images and graphics you want to use in your email designs.
Go to your Emails dashboard and click on create +New email.
You can either use one of our templates to start with or start your email from scratch.
Important: Regardless which option you choose, you can add any available building blocks and layouts to your email to make the design your own.
1. Logo block
In many of our email templates, the first block you may see is a Logo block.
If an email template doesn’t have a Logo block, you can add one as follows.
- Hover over an existing block in the email and click on the + (plus) sign to access all the email building blocks.
- Select the Logo block.
Learn more about how to to resize your logo or image in an email.
2. Layout blocks
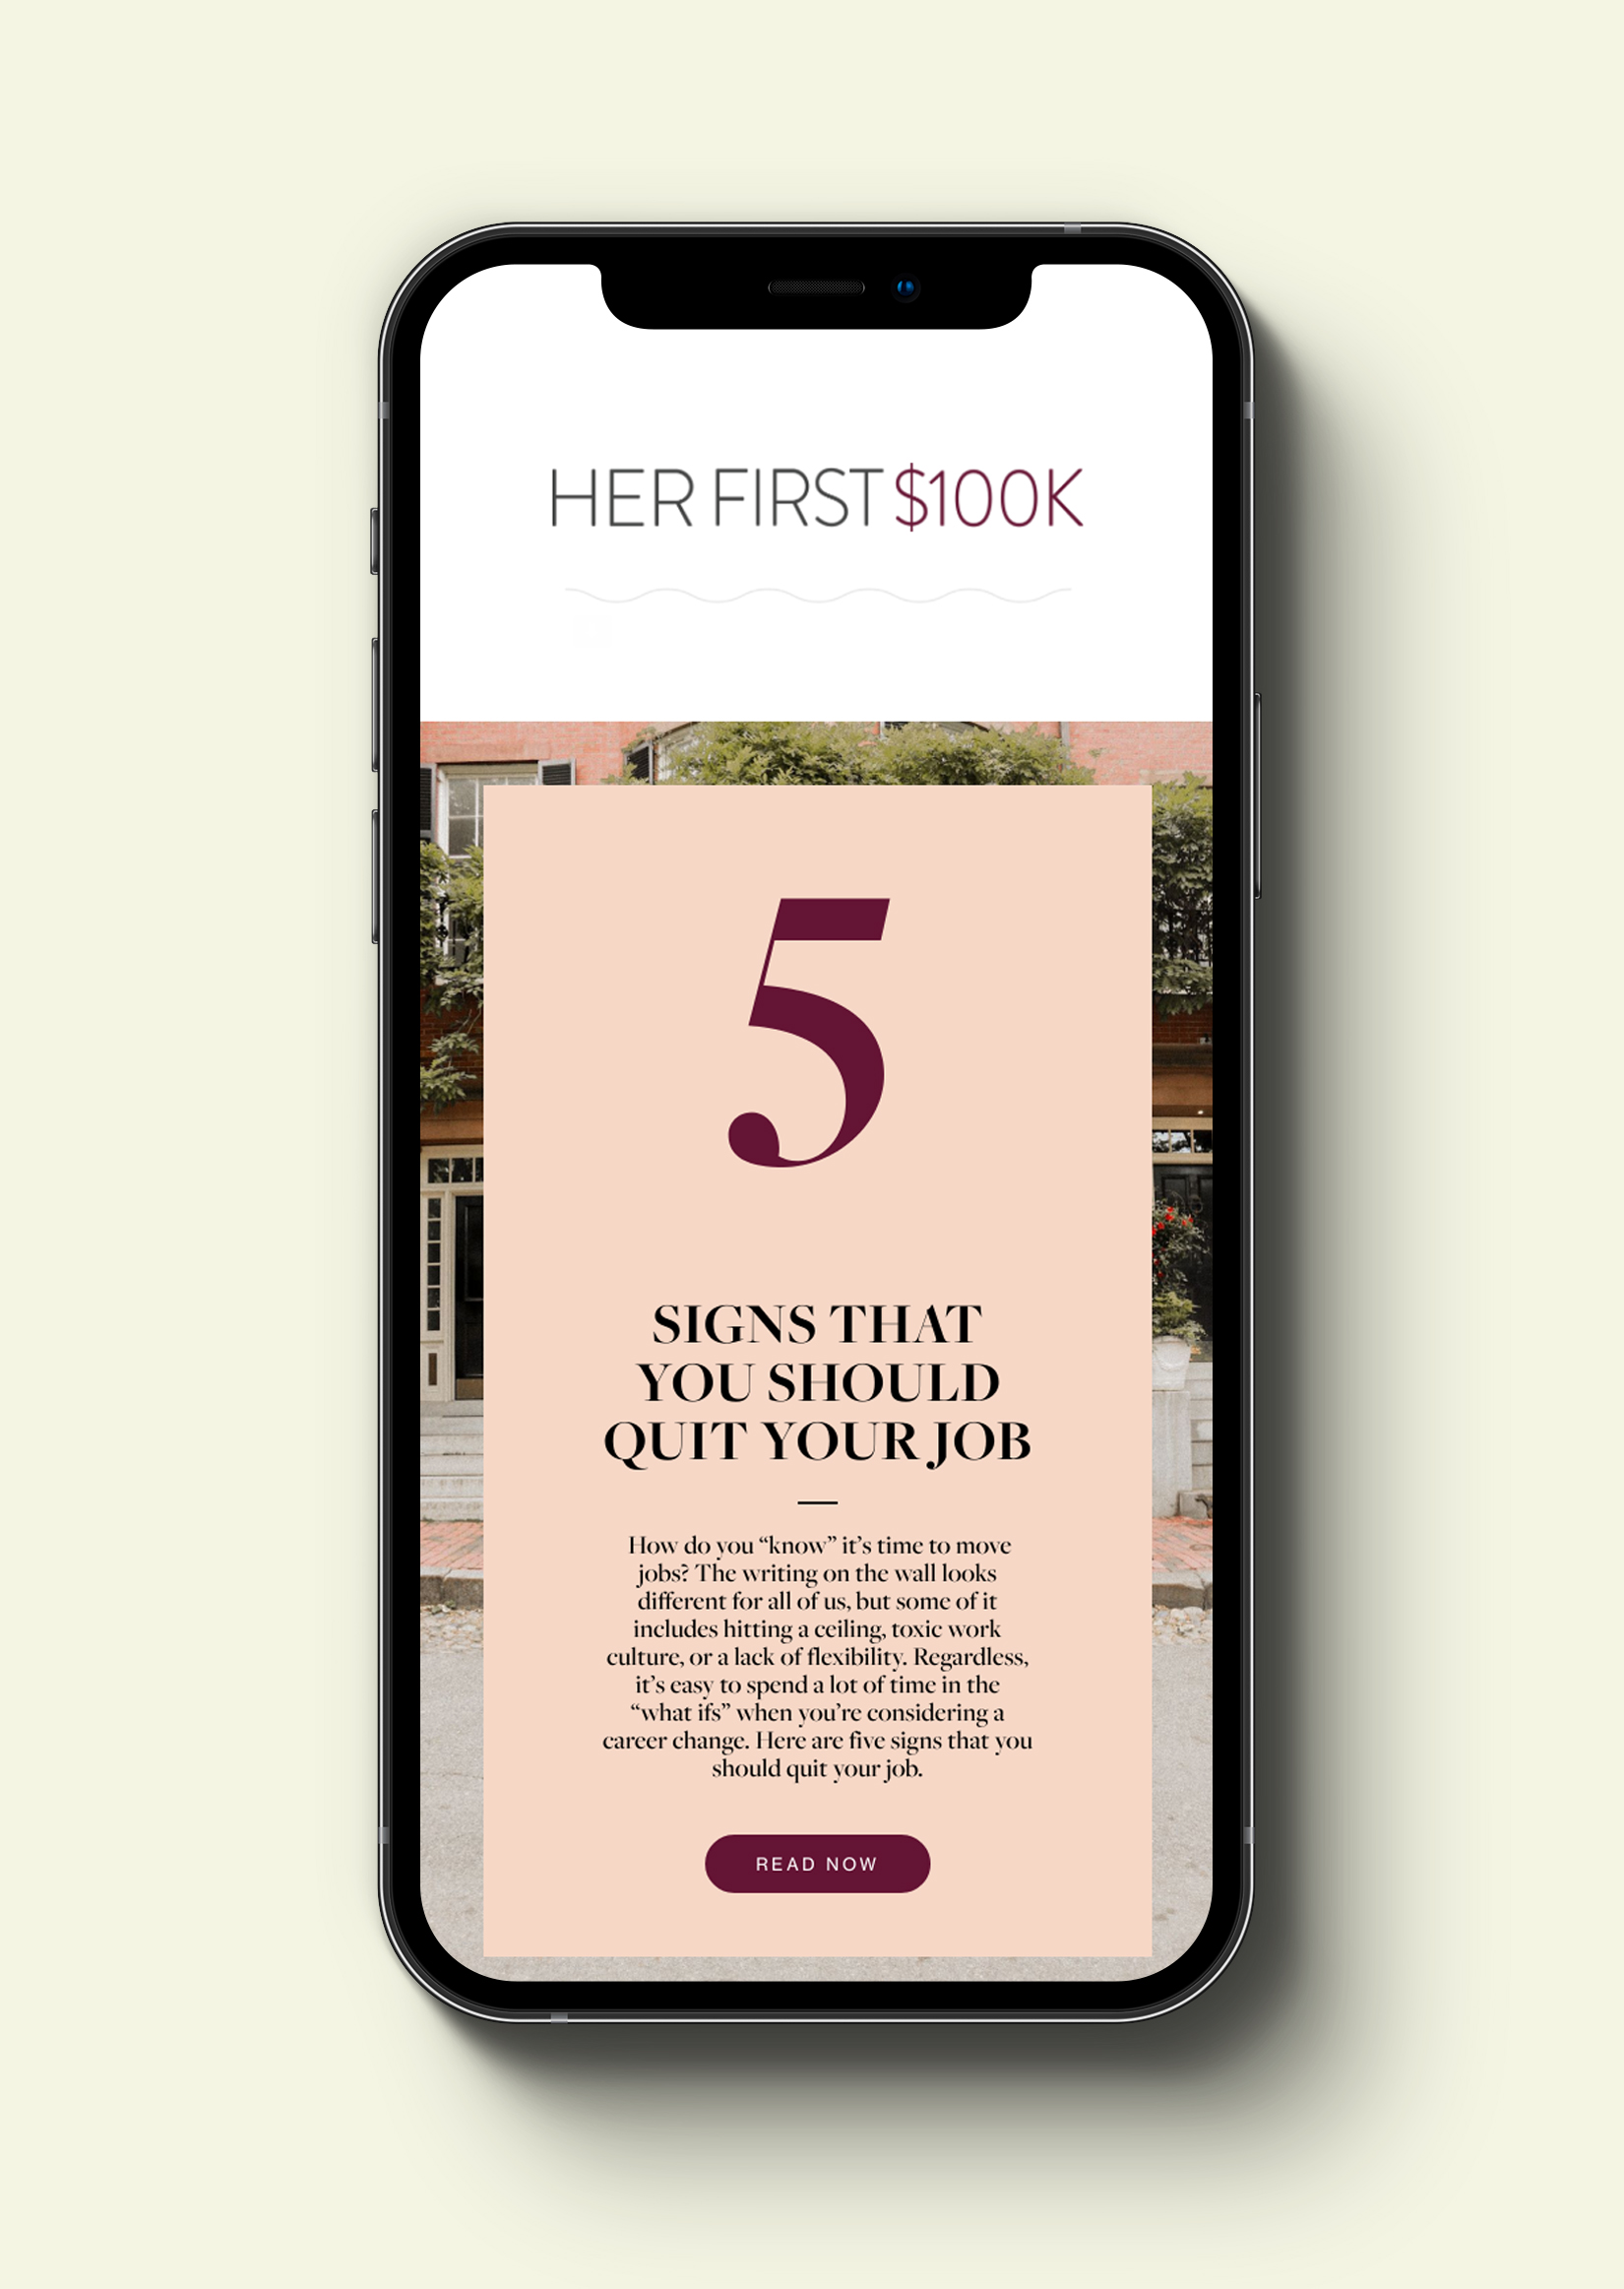
Layout blocks are Flodesk’s proprietary technology that allow you to use specialty fonts and create custom graphics right within the email builder—without needing third-party software like Canva or Photoshop. Once you send your email, a layout block will render as an image element.
You can work with a text-only Layout block to add an attention grabbing headline to your email or even a script font signature.
Other Layout blocks are a combination of text, graphics and design elements.
Whatever your need, there’s a pre-designed Layout block for you!
Learn more about Layout blocks.
3. Text blocks
Text blocks are optimized for searchability and deliverability in the inbox. Within your email, a text block renders as an HTML element, much like text on a website.
We only offer web-safe fonts in our Text block. You still have lots of styling options, including color, letter-spacing and line-height, to make your text look legible and elegant.
We recommend using the Text block for your email’s main content.
You can simply copy and paste your email copy from your draft document you created earlier.
Learn more about the different fonts that can be used in Layouts and Text blocks.
4. Image block
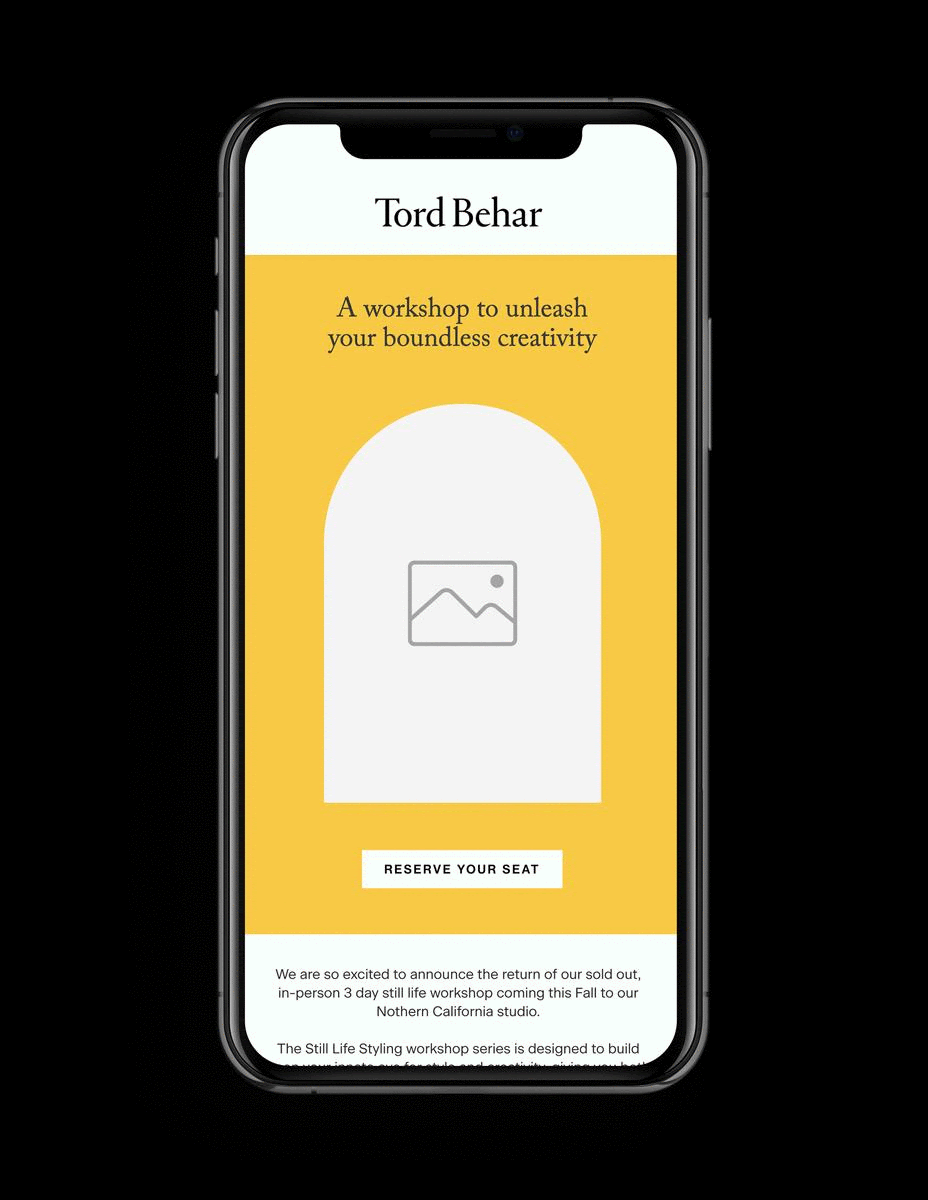
To add an Image block to your email design, hover over an existing block in the email and click on the + (plus) sign to access all the email building blocks, and select the Image block.
You can upload photos or graphics from your computer, or grab an image directly from Unsplash or a GIF from Giphy through our handy integrations.
Learn more about adding photos and images to your email here.
5. Video block
Please note that videos can’t be directly embedded to emails. What the Video block does is link to your YouTube- or Vimeo-hosted public videos with a play button, prompting your subscribers to click on the image and watch your multimedia content.
To make your emails more interactive, consider adding a Video block.
Learn more about adding a YouTube or Vimeo video into your email.
Buttons are typically used in emails for emphasizing a call-to-action (CTA), like
- Read latest blog post
- Book your discovery call
- Shop the latest collection
- Reply to me
You can style both the button and the button text separately on the setting panel. And you can also link a URL or even attach a file to the button.
Learn more about how to make a link or button reply to an email address.
7. Divider block
With little dividers you can break up the flow of your email design and separate different topic sections visually.
You can adjust the divider’s thickness and width, color, line style, alignment and padding.
8. Link Bar block
The Link bar block allows you to add up to 6 links in a row to your email. Just highlight the placeholder link text and overwrite it as needed. And add the relevant URLs on the settings panel.
You can use it to offer quick links to your Blog, Shop or similar.
Another use case could be to list your main social channels where your readers can find you.
In terms of styling, you can choose from various fonts, colors, font sizes among others.
9. Instagram block
To build upon your know, like, trust factor, consider adding an Instagram block. It will pull in the latest posts from your connected Instagram feed.
First, integrate your Instagram account under your Account settings. This ensures a connection between Flodesk and Instagram so that they can ‘see‘ each other.
Next, hover over an existing block in your email design, click the plus (+) sign and select the Instagram block.
Learn more about how to customize the look of your Instagram feed in your email.
10. Spacer block
To design emails that look professional and beautiful, consider adding a 20 to 40-pixel spacer between each block in your email. This adds a light and airy feel to your design.
With the Spacer block you can add transparent or colored whitespace to your emails.
If you’re designing with mobile users in mind, double-check that your selected spacer width looks nice on mobile screens too, and adjust it if needed.
Learn more about email design best practices for desktop and mobile.
If you set up your social links in your Account settings > Branding, then by adding a Social block to the email, the relevant social icons will appear and link directly to your social profiles.
The Footer block contains the mandatory Unsubscribe link and the option to allow subscribers to manage their preferences and to opt-out from certain topics.
While you can’t edit the footer block text, you can select from a variety of pre-written option on the settings panel under the Message tab.
13. Address block
To comply with email marketing laws and regulations (federal CAN-SPAM Act), you need to enter a valid mailing address that’s accessible to you and where you can receive letters by post.
Note: you can’t directly edit the address in the Email builder. To change and update the address, go to Account settings > Branding > Company address.
Send your Flodesk email
Once you’re finished editing and customizing the email to your heart’s desire, it’s time to send it out!
Step 1. Click Next in the top right corner of the screen.
Step 2. Double-check the Who’s this email coming from? section, showing your From name and sending email address. Click on Continue.
Step 3. Write your subject line and preview text. Click on Continue.
Step 4. Choose your recipients.
You can send to a CSV upload, a segment or an individual email address.
Click on Continue.
Step 5. Select when the email should be sent.
Send or schedule and you’re done! No worries if you got too eager and pressed that send button before you were ready. You have 10 seconds to hit Oops! Undo my send quick and go back to editing.
And that’s it.
Happy emailing with Flodesk. 💌
Note: You can also test send the email to your personal email address to take a final look at it before sending it to your subscribers. Just click the Send a test (paper plane) icon in the top left corner and follow the prompts.
Let’s sum it up!
To get started with Flodesk and send out your first email, you will need to
- Sign up for a Flodesk account and fill in your account and brand details
- Upload a CSV of opted-in subscribers
- Design an opt-in form to collect new subscribers and embed your form to your website—or share it via its URL in case of full page forms
- Build a new email in Flodesk’s email builder with the available blocks and send it out to your subscribers

Related Articles